The Best Fluffy Pancakes recipe you will fall in love with. Full of tips and tricks to help you make the best pancakes.
Making candy at home is both fun and rewarding, and homemade lollipops are one of the sweetest treats you can try. With just a few simple ingredients and the right tools, you can create colorful, flavorful lollipops that taste even better than store-bought ones. Whether you’re planning party favors, holiday gifts, or just a fun kitchen activity with kids, learning how to make lollipops at home opens the door to endless creativity. In this guide, you’ll discover the essential ingredients, must-have equipment, step-by-step instructions, and plenty of tips and variations to help you craft perfect homemade lollipops every time.
Why Make Homemade Lollipops?
Homemade lollipops aren’t just candy—they’re a fun, creative, and customizable treat that can brighten any occasion. Whether you’re looking for a hands-on kitchen project, unique party favors, or healthier alternatives to store-bought sweets, making lollipops at home has plenty of advantages.
Benefits of DIY Lollipops
When you make lollipops at home, you have complete control over the ingredients and flavors. Unlike many store-bought candies filled with preservatives, artificial flavors, and excess sugars, homemade versions can be tailored to your taste. You can adjust sweetness, experiment with flavor extracts, or even choose natural coloring for a more wholesome treat.
Perfect for Parties and Gifts
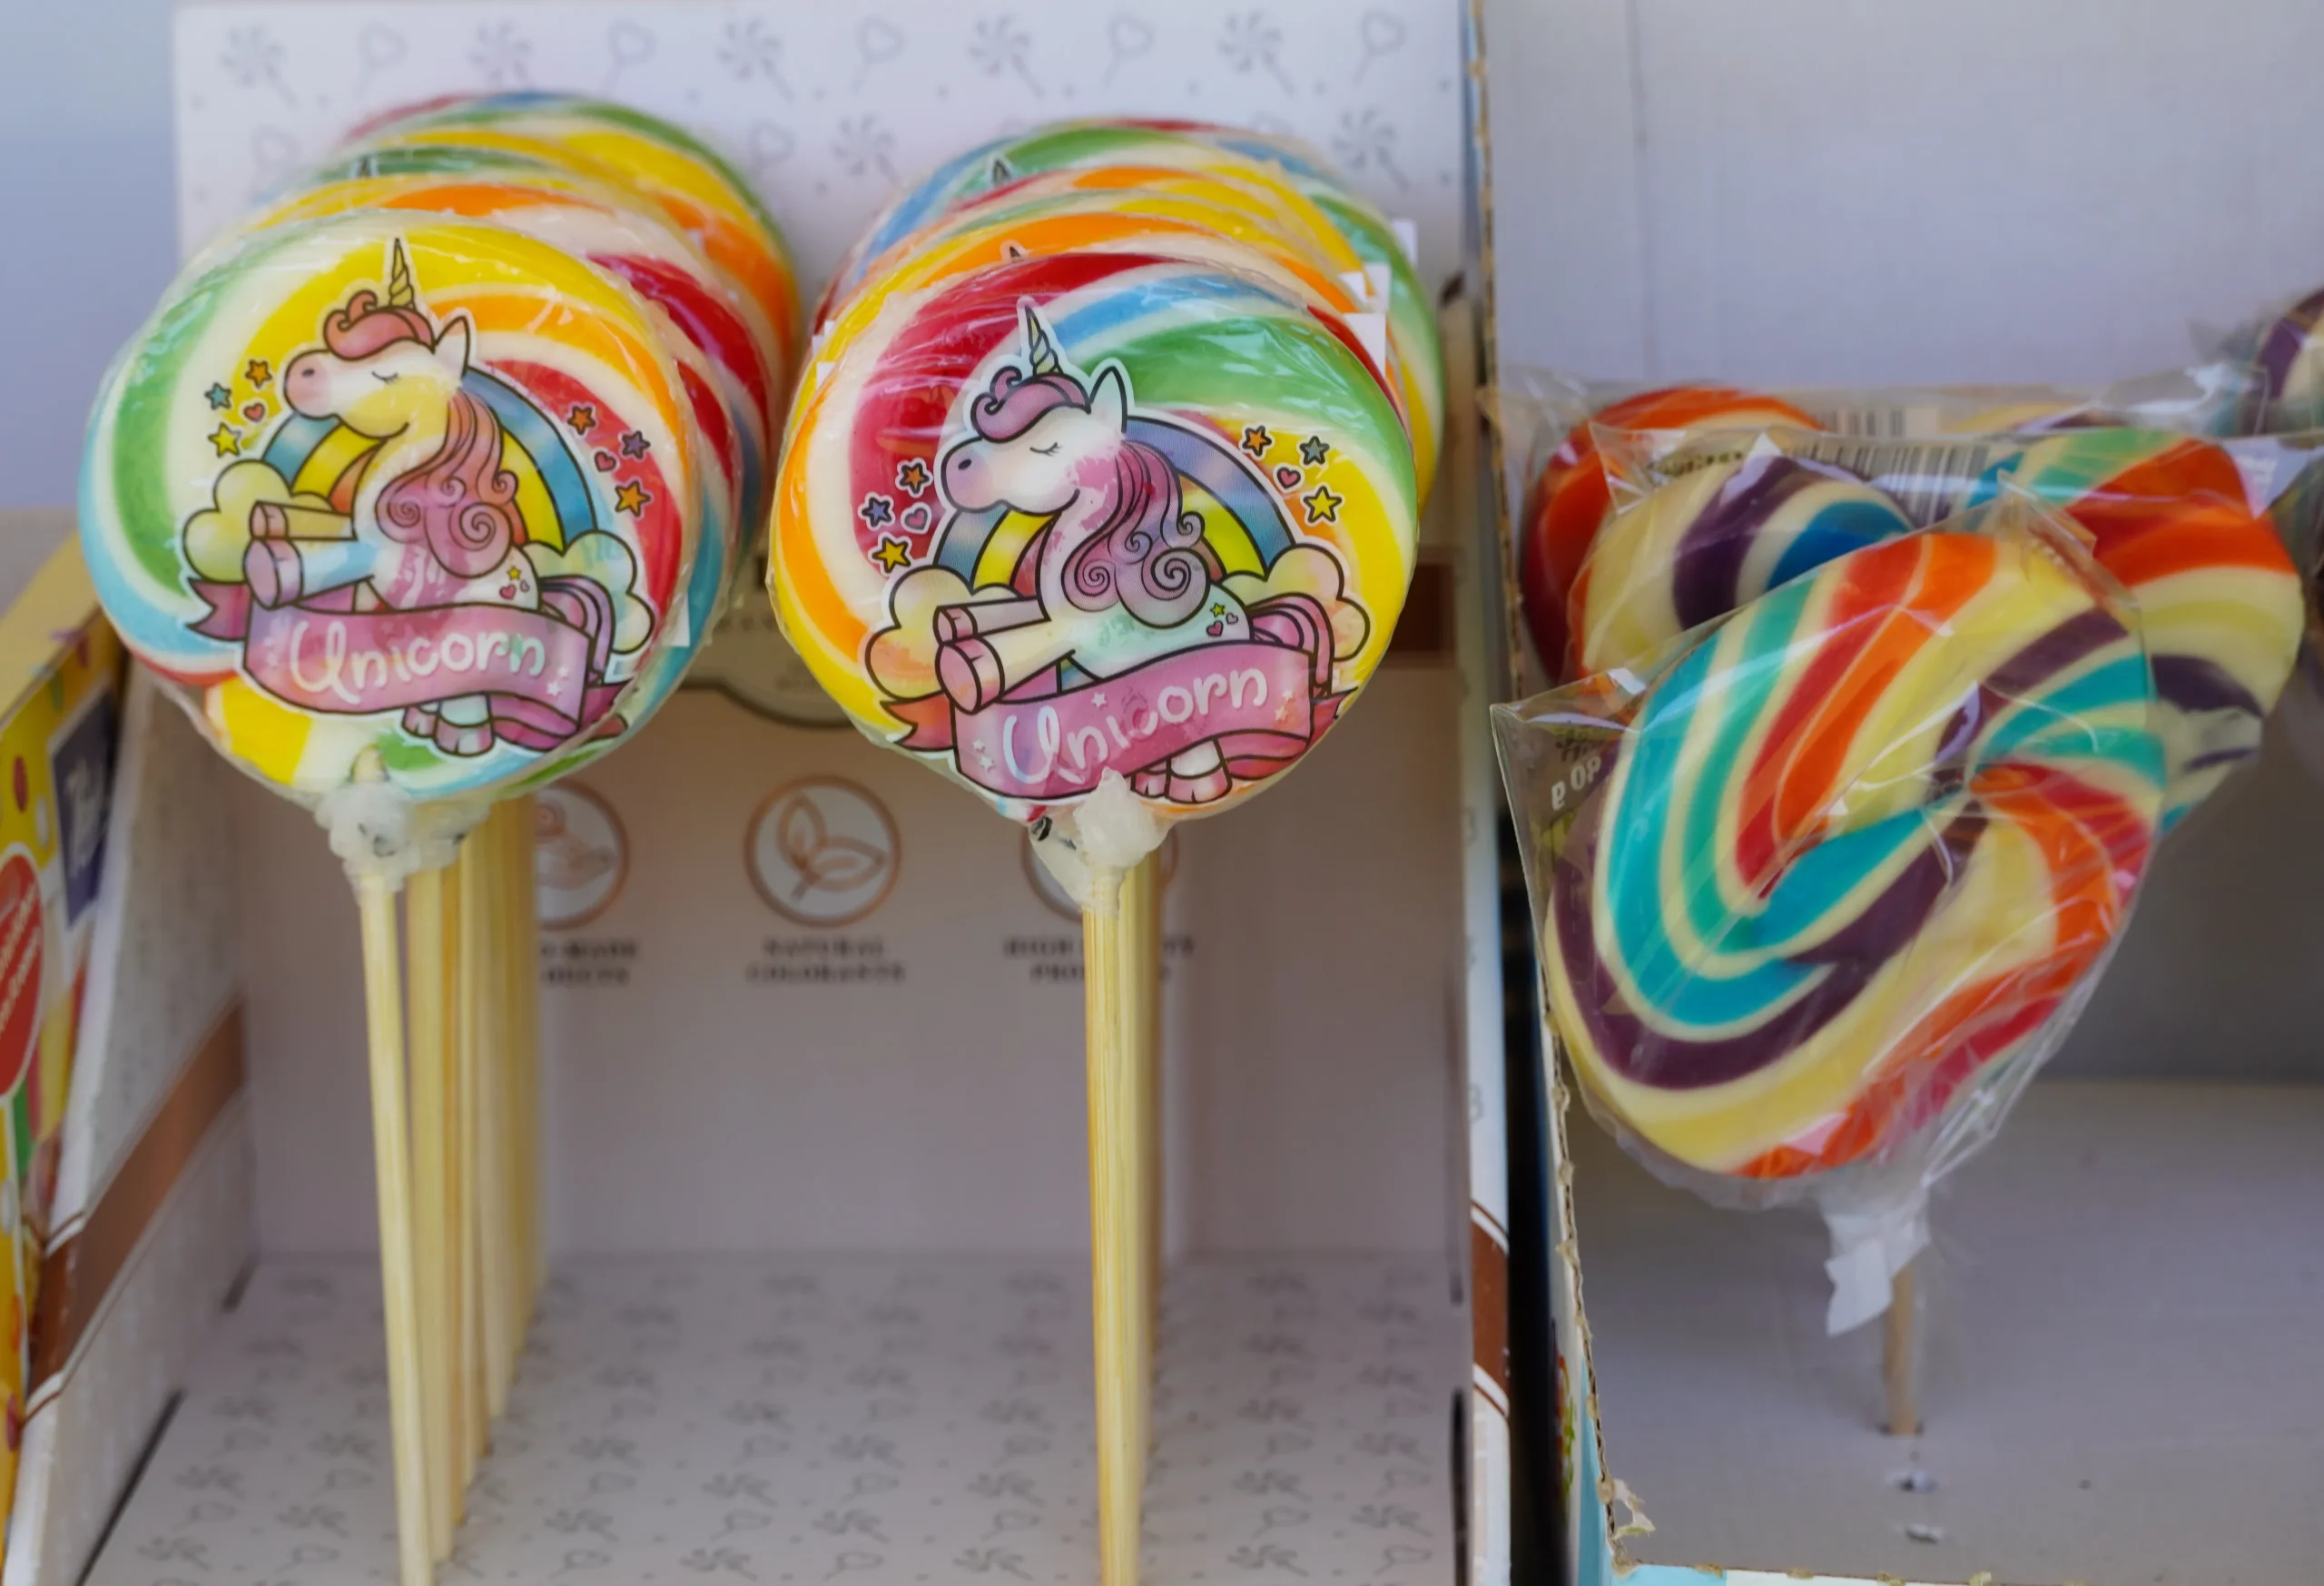
Homemade lollipops make stunning party favors and thoughtful gifts. Imagine handing out colorful, heart-shaped lollipops for Valentine’s Day, swirled candy sticks for a birthday, or peppermint-flavored ones for Christmas. With just a little creativity, these lollipops can be wrapped in clear cellophane and tied with ribbons, making them an affordable yet personal gift.
Fun Activity for Kids and Families
Making lollipops is a fun family activity, especially for kids who love choosing colors and flavors. While adults should handle the hot sugar syrup, children can join in by decorating, adding sprinkles, or helping with wrapping. It’s a creative way to spend time together while teaching little ones about cooking and candy-making.
Cost-Effective and Creative Alternative to Store-Bought Candy
Buying artisanal or themed lollipops from shops can get expensive, especially if you need them in bulk for events. Homemade lollipops cost just a fraction of the price, and you can make dozens in one batch. Plus, the ability to design them in any shape, size, or color adds a personalized touch you simply can’t find in mass-produced candy.
Essential Ingredients for Homemade Lollipops
The secret to perfect homemade lollipops starts with simple yet essential ingredients. Each plays a key role in texture, flavor, and appearance, so it’s important to understand their function and how you can swap or customize them.
Basic Ingredients You’ll Need
At the core of every lollipop recipe are just three ingredients:
- Sugar – Provides sweetness and structure, forming the hard candy base.
- Corn Syrup – Prevents crystallization and helps achieve a smooth, glass-like finish.
- Water – Used to dissolve the sugar and control the cooking process.
These three work together to create the hard-crack stage syrup that makes lollipops crunchy yet glossy.
Natural Alternatives to Corn Syrup
If you prefer not to use corn syrup, there are alternatives that still prevent crystallization:
- Honey – Adds a rich, floral sweetness but can slightly change the flavor.
- Maple Syrup – Gives a warm, earthy undertone, ideal for fall-inspired lollipops.
- Glucose Syrup – A professional-grade option for a smooth texture.
Keep in mind that using alternatives may slightly affect the clarity and taste of the lollipop.
Flavor Ideas and Extracts
One of the best parts about making lollipops at home is experimenting with flavors. Popular options include:
- Fruity – Strawberry, cherry, raspberry, lemon, or orange.
- Minty – Peppermint or spearmint for refreshing holiday candies.
- Sweet & Classic – Vanilla or caramel for a traditional taste.
- Unique Blends – Coconut, almond, or coffee extracts for creative twists.
Flavors can be combined for layered lollipops, like lemon-strawberry or vanilla-mint.
Food Coloring Options
A lollipop’s vibrant look comes from food coloring, and you can choose based on your preferences:
- Liquid Food Coloring – Easy to mix, but may require more drops for strong colors.
- Gel Food Coloring – Produces bold, concentrated shades without altering the syrup.
- Natural Coloring – Beet juice for red, turmeric for yellow, or spinach powder for green, for a healthier option.
By combining flavors with matching or contrasting colors, you can design lollipops that are both delicious and eye-catching.
Tools and Equipment for Candy Making
Making homemade lollipops doesn’t require a professional candy kitchen, but having the right tools will make the process safer, easier, and more enjoyable. These essentials ensure your lollipops turn out with the perfect texture, shape, and finish.
Must-Have Kitchen Tools
To start, you’ll need a few basic items most kitchens already have:
- Heavy-Bottomed Saucepan – Prevents hot spots and ensures even heating of sugar.
- Candy Thermometer – Essential for reaching the hard-crack stage (300°F / 150°C) for perfect lollipops.
- Heat-Resistant Spatula – Helps stir the mixture without melting or warping.
- Baking Sheet or Silicone Mat – Used for pouring lollipops if you’re not using molds.
These tools provide precision and control, which are crucial in candy making.
Lollipop Sticks and Alternatives
The stick gives your candy that classic lollipop look. You can choose from:
- Traditional Lollipop Sticks – Paper or plastic sticks available in baking stores.
- Wooden Skewers – A sturdier option for larger or heavier lollipops.
- DIY Options – Pretzel sticks or cinnamon sticks add an edible and creative twist.
Whichever option you choose, make sure the stick is heat-safe and food-grade.
Using Candy Molds vs. Freehand Shaping
How you shape your lollipops depends on your tools and creativity:
- Candy Molds – Silicone or metal molds give you fun shapes like hearts, stars, or animals.
- Freehand Pouring – For simple round lollipops, you can pour syrup onto a silicone mat or parchment paper, then insert sticks.
- Layered Designs – Using molds also allows you to experiment with colors and flavors in layers.
Molds are especially handy for themed parties or holiday candies.
Safety Tips for Handling Hot Sugar Syrup
Working with hot sugar requires extra caution:
- Always wear oven mitts when handling the saucepan.
- Keep a bowl of cold water nearby in case of accidental splashes.
- Avoid distractions while cooking—the syrup reaches the hard-crack stage quickly.
- Never let children handle the hot syrup; let them help only with decorating and wrapping.
With the right tools and careful handling, you’ll create lollipops that are safe, glossy, and beautiful.
Step-by-Step Homemade Lollipop Recipe
Making lollipops at home is surprisingly simple when you follow the right steps. With just a few pantry staples and some patience, you can create glossy, colorful, and flavorful lollipops. Below is a classic recipe with exact measurements to help you get started.
Ingredients (for about 12–15 lollipops)
- 2 cups (400 g) granulated sugar
- 2/3 cup (160 ml) light corn syrup (or honey/maple syrup alternative)
- 3/4 cup (180 ml) water
- 1–2 teaspoons flavor extract (vanilla, strawberry, peppermint, etc.)
- 3–4 drops food coloring (gel or liquid, optional)
- Lollipop sticks (12–15 pieces)
Preparing Your Ingredients and Tools
- Lightly grease lollipop molds or line a baking sheet with parchment paper or a silicone mat.
- Place lollipop sticks in position inside the molds (or on the lined sheet if free-pouring).
- Have your candy thermometer, spatula, and flavorings ready—once the syrup reaches the right stage, you’ll need to move quickly.
Cooking Sugar to the Right Temperature
- In a heavy-bottomed saucepan, combine sugar, corn syrup, and water.
- Stir gently over medium heat until sugar dissolves completely.
- Attach a candy thermometer to the side of the pan (without touching the bottom).
- Allow the mixture to boil without stirring until it reaches 300°F (150°C)—the hard-crack stage.
- To test without a thermometer: drop a little syrup into cold water—it should form hard, brittle threads.
Adding Flavor and Color
- Once the syrup reaches 300°F, remove the pan from heat immediately.
- Let bubbles settle for 30–60 seconds.
- Carefully stir in flavor extract and food coloring (be cautious—hot syrup may splatter).
- Mix until evenly combined.
Pouring, Shaping, and Cooling Your Lollipops
- Working quickly, pour the syrup into the prepared molds or onto the lined baking sheet.
- Immediately place the lollipop sticks into the center of each candy and twist slightly to coat the stick.
- Allow the lollipops to cool completely at room temperature (about 20–30 minutes).
- Once hardened, gently remove them from molds or peel off parchment.
- Wrap in cellophane bags or wax paper to keep them fresh and prevent sticking.
Creative Variations and Tips for Success
Once you’ve mastered the basic lollipop recipe, the fun really begins. Homemade lollipops can be endlessly customized with different shapes, flavors, and designs. With a few creative ideas and some smart techniques, you can turn simple candy into a work of art.
Fun Shapes and Designs
- Classic Round Lollipops – Perfect for beginners and easy to pour freehand.
- Shaped Candy Molds – Hearts, stars, flowers, or even cartoon characters for themed parties.
- Layered Colors – Pour one flavored syrup layer, let it set slightly, then add another for a striped or swirled effect.
- Sprinkle Decorations – Add edible glitter, sprinkles, or tiny candy pieces to the molds before pouring syrup.
Holiday and Seasonal Lollipops
- Christmas – Red-and-white peppermint swirls or tree-shaped molds.
- Halloween – Orange-and-black lollipops with spooky shapes like pumpkins or bats.
- Valentine’s Day – Heart-shaped lollipops flavored with strawberry or cherry.
- Easter – Pastel-colored lollipops with lemon or coconut flavor.
These themed variations make lollipops a festive treat for any occasion.
Storing and Wrapping Homemade Lollipops
Proper storage keeps your lollipops fresh and prevents stickiness:
- Wrap each lollipop in cellophane or wax paper immediately after cooling.
- Store in an airtight container at room temperature, away from humidity.
- Lollipops can stay fresh for up to 2–3 weeks when stored correctly.
- For gifting, tie wrapped lollipops with ribbons or custom labels for a professional touch.
Common Mistakes to Avoid in Lollipop Making
- Not reaching the hard-crack stage – Results in sticky or chewy lollipops instead of crisp ones.
- Stirring after boiling starts – Can cause crystallization and a grainy texture.
- Adding flavor too early – Heat can burn off the flavor; always add at the end.
- Pouring too slowly – Syrup hardens fast, so have everything ready before you begin.
By keeping these tips in mind, you’ll consistently get smooth, glossy, and delicious lollipops every time.


