The Best Fluffy Pancakes recipe you will fall in love with. Full of tips and tricks to help you make the best pancakes.
If you’re looking for a unique dessert that’s bursting with tropical flavor, this homemade papaya cake is about to become your new favorite. Light, moist, and naturally sweet from ripe papayas, this cake is a delightful twist on traditional fruit-based desserts. Whether you’re baking for a summer party, a cozy family gathering, or just craving something fruity and refreshing, this easy papaya cake recipe is both simple to make and impossible to resist. Let’s dive into how to transform fresh papayas into a soft, flavorful cake that captures the essence of the tropics in every bite.
Why You’ll Love This Papaya Cake
This homemade papaya cake is more than just a dessert—it’s a sweet tropical escape in every bite. Whether you’re new to baking with papaya or already love tropical fruit flavors, this cake stands out for several reasons:
🌴 A Unique Tropical Twist on Traditional Cake
Papaya brings a mild, honey-like flavor that’s unlike any other fruit. When baked into a cake, it creates a beautifully soft and subtly fruity crumb. It’s a refreshing change from classic options like banana or carrot cake and a fun way to explore exotic ingredients.
🍰 Perfectly Moist and Soft Texture
Thanks to the natural moisture in ripe papayas, this cake bakes up incredibly soft and fluffy. The fruit puree not only adds sweetness but also helps create that melt-in-your-mouth texture without needing a lot of butter or heavy cream.
🍓 Great Way to Use Overripe Papayas
If you have papayas sitting on your counter that are too soft for slicing, don’t toss them—bake with them! This cake is the perfect solution for using fruit at its peak ripeness, reducing food waste while creating something delicious.
🧁 Easy, Crowd-Pleasing, and Versatile
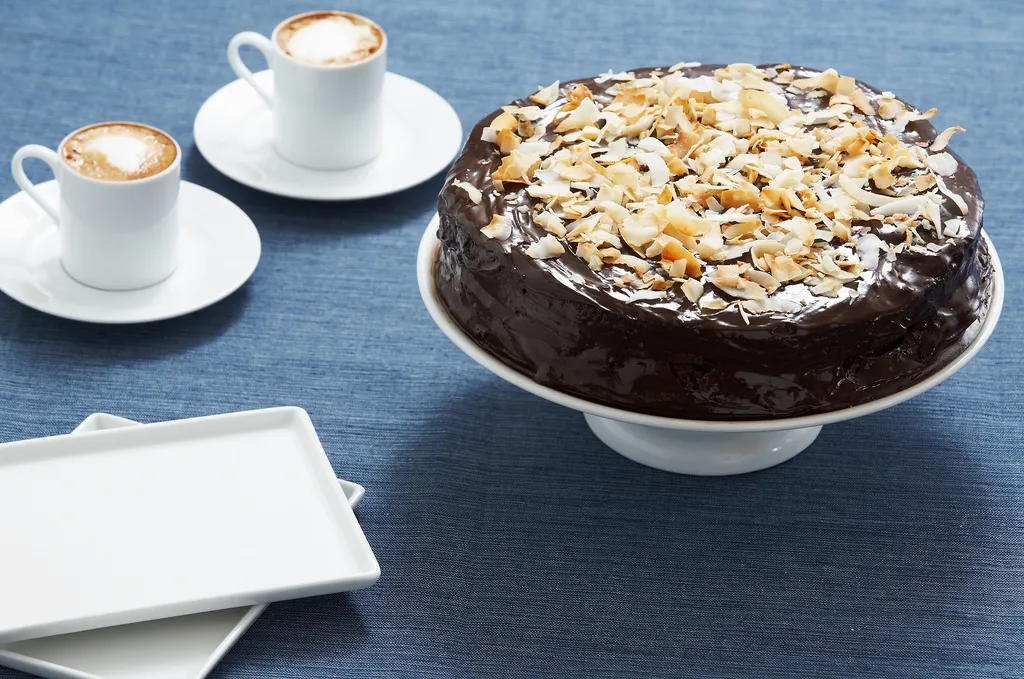
This cake is easy enough for beginners and adaptable enough for creative bakers. Serve it as a simple tea cake, dress it up with coconut frosting, or even add chopped nuts for extra texture. It’s ideal for summer parties, brunch tables, or as a tropical birthday cake alternative.
Ingredients You’ll Need
Creating a moist and flavorful homemade papaya cake starts with a handful of simple, wholesome ingredients. Each one plays a key role in giving the cake its tropical character, rich texture, and irresistible aroma. Here’s a breakdown of what you’ll need:
🍈 Ripe Papaya
The star of the show! Use fresh, ripe papayas that are soft, fragrant, and slightly orange in color. Puree or mash them until smooth. This not only sweetens the cake naturally but also provides moisture for a soft crumb. Avoid unripe papaya—it lacks the sweetness and creamy texture needed for baking.
✅ Tip: You’ll need about 1 to 1½ cups of mashed papaya for one loaf or 9-inch cake.
🥚 Eggs
Eggs help bind the ingredients together and contribute to the cake’s airy structure. For a fluffier texture, use room-temperature eggs, which mix better with other ingredients and create a more uniform batter.
🌾 All-Purpose Flour
All-purpose flour gives structure to the cake without being too heavy. If you want a slightly denser cake, you can mix in a bit of whole wheat flour or almond flour—but keep the base as AP flour for best results.
🧁 Granulated Sugar or Brown Sugar
Sugar sweetens the cake and helps it brown. You can use:
- White sugar for a cleaner flavor
- Brown sugar for a deeper, molasses-like note
- Or a mix of both for balance and extra moisture
🧂 Baking Powder and Baking Soda
These leavening agents are essential for a light, fluffy rise. Make sure they’re fresh—expired baking powder/soda can lead to a flat or gummy cake.
🛢️ Vegetable Oil or Melted Butter
Oil results in a super moist texture and keeps the cake soft for days. You can also use melted coconut oil for extra tropical flair. Prefer butter? Go for it—it will add a richer, slightly denser bite.
🍦 Vanilla Extract
A teaspoon or two of pure vanilla extract adds warmth and depth that complements the papaya’s subtle sweetness.
🥥 Optional Add-ins
Want to take it to the next level? Try mixing in:
- Shredded coconut for tropical texture
- Chopped walnuts or pecans for crunch
- Lime or orange zest for brightness
- Raisins or dried pineapple for extra fruitiness
Step-by-Step Instructions to Make the Perfect Papaya Cake
This easy papaya cake recipe comes together in just a few simple steps. Whether you’re an experienced baker or trying something new, you’ll find the process smooth and rewarding. Follow this guide to create a cake that’s soft, fruity, and full of tropical charm:
🥣 Step 1: Prepare the Papaya
Start by selecting ripe papayas—they should feel slightly soft to the touch and smell sweet.
- Peel the papaya, remove the seeds, and dice the flesh.
- Mash the papaya with a fork or use a food processor to make a smooth purée.
✅ Tip: You’ll need about 1 to 1½ cups of purée, depending on your pan size.
🧁 Step 2: Mix the Dry Ingredients
In a large mixing bowl, whisk together the dry ingredients:
- 2 cups all-purpose flour
- 1 ½ tsp baking powder
- ½ tsp baking soda
- ¼ tsp salt
- Optional: 1 tsp ground cinnamon or nutmeg for warm spice notes
This step ensures your leavening agents are evenly distributed and prevents clumps.
🧈 Step 3: Combine the Wet Ingredients
In a separate bowl, mix:
- 2 large eggs
- 1 cup granulated sugar (or mix of white and brown)
- ½ cup vegetable oil or melted butter
- 1 tsp vanilla extract
- Your mashed papaya
Whisk until the mixture is smooth and well combined.
🌀 Step 4: Bring It All Together
Gradually add the dry mixture into the wet ingredients.
- Stir gently until everything is combined—do not overmix, or the cake may become dense.
- Fold in optional add-ins like shredded coconut, nuts, or lime zest if desired.
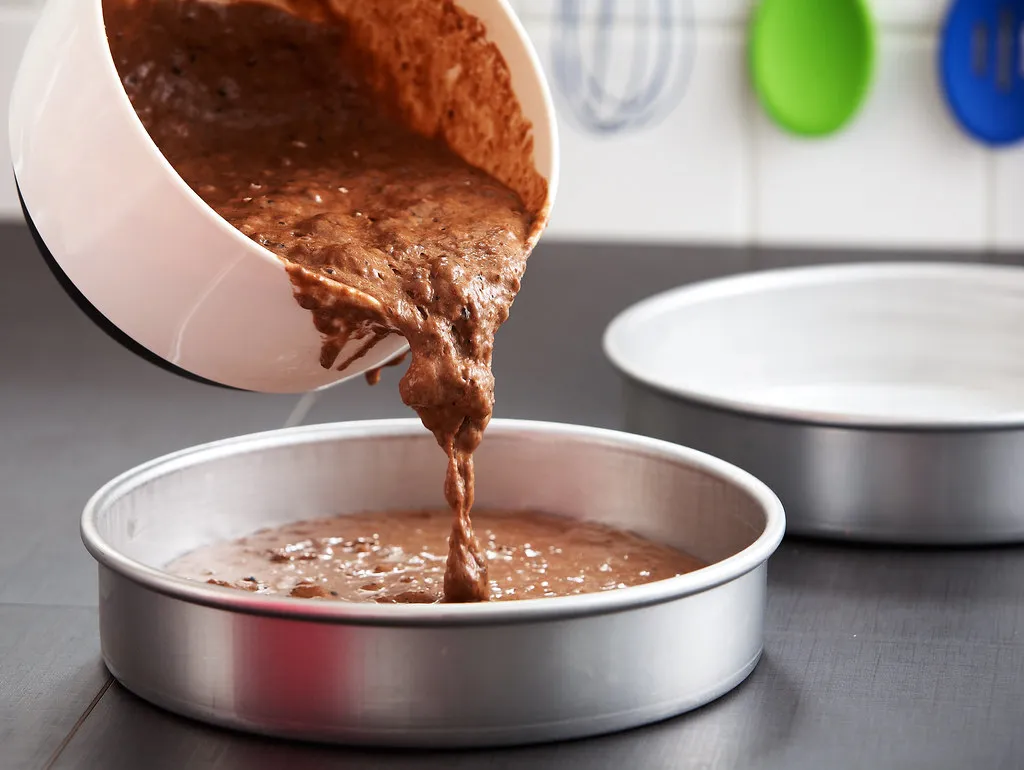
🍰 Step 5: Bake to Fruity Perfection
- Preheat your oven to 175°C (350°F).
- Grease a 9-inch round or loaf cake pan and pour in the batter.
- Bake for 45–55 minutes, or until a toothpick inserted in the center comes out clean.
🔥 Baking times may vary slightly based on your oven and pan type.
❄️ Step 6: Cool and Serve
- Let the cake cool in the pan for 10–15 minutes, then transfer it to a wire rack.
- Once cooled, top it with a simple papaya glaze, a light cream cheese frosting, or a dusting of powdered sugar for a finishing touch.
Tips for the Best Texture and Flavor
Want your papaya cake to turn out moist, fluffy, and bursting with tropical flavor every time? These expert tips will help you master the recipe and enhance both the texture and taste of your homemade cake:
🥭 Use Very Ripe Papayas
The riper the papaya, the sweeter and more flavorful your cake will be. Ripe papayas are soft with a deep orange hue and a sweet fragrance.
✅ Tip: Avoid green or underripe papayas—they’re bland and won’t give you that rich, fruity taste or soft texture.
💧 Don’t Overmix the Batter
Once you combine your wet and dry ingredients, mix just until combined. Overmixing can lead to a dense or rubbery texture. For the softest crumb, use a spatula or wooden spoon to gently fold everything together.
🥥 Add Coconut or Citrus Zest for Depth
Enhance the flavor with tropical accents:
- Shredded coconut adds texture and a light nutty note
- Lime or orange zest brings brightness that pairs beautifully with papaya
- A splash of coconut milk in place of regular milk can deepen the tropical vibe
🧈 Use Oil Instead of Butter for Extra Moisture
Vegetable or coconut oil keeps the cake soft and moist for days. While butter adds flavor, oil provides better moisture retention—especially helpful if you’re baking ahead of time or storing leftovers.
🧁 Let the Cake Rest Before Slicing
It’s tempting to dive in while the cake is still warm, but giving it time to fully cool lets the flavors settle and the texture firm up. This makes for cleaner slices and better flavor.
🌡️ Adjust Baking Time Based on Your Pan
- A loaf pan may need closer to 55 minutes
- A round cake pan might bake faster—start checking around 40 minutes
Always use the toothpick test: if it comes out clean or with just a few crumbs, it’s ready.
Serving Ideas and Storage Tips
Your sweet and fruity papaya cake is baked and ready—but how you serve and store it can make all the difference. Whether you’re hosting a tropical-themed brunch or just enjoying a slice with your coffee, here’s how to get the most out of every bite (and make it last!).
🍰 Serving Ideas for Every Occasion
This cake is incredibly versatile—it can be dressed up or kept simple depending on the occasion:
- Keep it Classic: Serve plain or lightly dusted with powdered sugar for a light, everyday treat.
- Add a Glaze: Drizzle with a papaya-lime glaze made from puréed papaya, lime juice, and powdered sugar for a tangy-sweet finish.
- Top with Whipped Cream or Ice Cream: Vanilla ice cream or coconut whipped cream turns a slice into a tropical dessert.
- Garnish with Fresh Fruit: Decorate with fresh papaya cubes, berries, or a slice of lime for a fresh and colorful touch.
- Pair with a Drink: Enjoy with a cup of hot tea, iced coffee, or a tropical smoothie to complement the flavors.
❄️ How to Store Papaya Cake for Freshness
To keep your papaya cake moist and flavorful over several days, proper storage is key:
🏠 Room Temperature (1–2 Days):
- Store the fully cooled cake in an airtight container on the counter for up to 2 days.
- Ideal if your kitchen is cool and not too humid.
🧊 Refrigerator (Up to 5 Days):
- If frosted or glazed, refrigerate in a tightly sealed container.
- Let it come to room temperature before serving to bring back softness and flavor.
❄️ Freezer (Up to 2 Months):
- Wrap individual slices or the whole cake in plastic wrap, then foil.
- Place in a freezer-safe bag or container.
- Thaw overnight in the fridge or gently warm in the microwave for a quick tropical treat.
🔁 Bonus Tip: Repurpose Leftovers
- Turn leftover slices into a trifle with layers of cream and fruit
- Crumble and bake into cake pops or mini parfaits
- Toast slices lightly and spread with fruit preserves or butter


You could certainly see your expertise in the work you write. The arena hopes for even more passionate writers like you who aren’t afraid to say how they believe. Always go after your heart.