The Best Fluffy Pancakes recipe you will fall in love with. Full of tips and tricks to help you make the best pancakes.
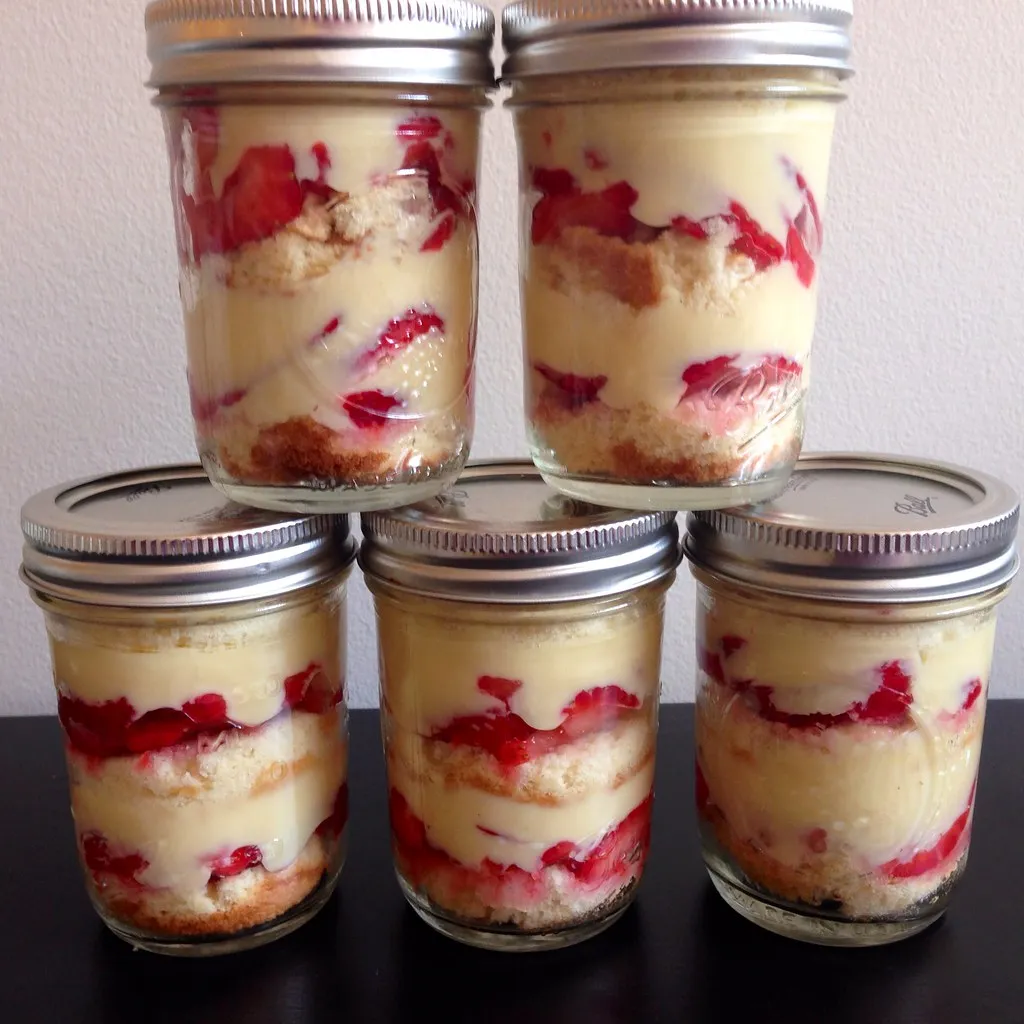
If you love layered desserts that are both beautiful and easy to serve, cake jars are the perfect treat for you. These mini cakes in a jar combine your favorite flavors—like chocolate, vanilla, or red velvet—with rich frosting, fruity fillings, and colorful toppings, all neatly packed into a portable, single-serving container. Whether you’re planning a party, creating homemade gifts, or just craving a fun baking project, homemade cake jars are simple to make and endlessly customizable. In this guide, we’ll walk you through everything you need—from essential ingredients to flavor ideas and storage tips—so you can create your own delicious mason jar cakes at home with ease.
Why You’ll Love Cake Jars
Cake jars aren’t just adorable—they’re practical, versatile, and perfect for nearly any occasion. Whether you’re hosting a party, prepping desserts for the week, or looking for a unique gift idea, cake jars deliver both flavor and style in every spoonful. Here’s why they’re quickly becoming a favorite among home bakers and dessert lovers alike:
🎂 Perfectly Portioned Treats
Each cake jar is an individual serving, making portion control easy without sacrificing indulgence. They’re ideal for guests, kids, or anyone who wants just the right amount of dessert without the mess of slicing.
🎨 Customizable Flavors and Layers
From classic combinations like chocolate cake with vanilla frosting to more adventurous pairings like lemon cake with blueberry compote, you can mix and match layers to suit any taste or theme. Add whipped cream, ganache, cookie crumbs, or fresh fruit—the possibilities are endless.
🎁 Great for Gifts and Events
Cake jars are a thoughtful, handmade gift that looks as good as it tastes. Tie a ribbon around the jar, add a label, and you’ve got a ready-to-go present for birthdays, holidays, weddings, or baby showers. They also make fantastic party favors and bake sale best-sellers.
🧳 Easy to Store and Transport
Unlike traditional cake slices, cake jars travel well and stay fresh longer. Simply screw on the lid, refrigerate if needed, and enjoy later. Whether you’re bringing dessert to a picnic or meal prepping for the week, they’re super convenient.
Ingredients and Tools You’ll Need
Before you begin layering your cake jars like a pro, it’s important to gather all the essential ingredients and tools. One of the best things about cake jars is how flexible they are—you can go classic with simple vanilla sponge and buttercream, or get creative with fillings like fruit compote, cookie crumbs, or ganache. Here’s everything you’ll need to get started.
🧁 Basic Ingredients for Cake Jars
These ingredients form the foundation of your cake jar layers:
- Cake Base: You can use homemade cake, boxed cake mix, or even leftover cupcakes. Popular options include vanilla sponge, chocolate cake, red velvet, or lemon cake.
- Frosting: Choose your favorite frosting—buttercream, cream cheese frosting, or whipped cream work best for layering.
- Fillings (Optional): Add extra flavor with fruit preserves, ganache, caramel sauce, or pudding. These add richness and moisture.
- Toppings: Finish your jars with sprinkles, crushed cookies, mini chocolate chips, or fresh fruit for texture and decoration.
🧂 Optional Add-Ins for Flavor and Texture
Enhance your cake jars with mix-ins that add color and crunch:
- Jam or Fruit Compote – Strawberry, raspberry, or blueberry
- Cookie or Graham Cracker Crumbs – Adds a cheesecake or s’mores vibe
- Chopped Nuts or Coconut Flakes – For crunch and flavor
- Mini Candies – M&Ms, chocolate shavings, or toffee bits
🧰 Essential Tools and Supplies
You don’t need fancy equipment to make cake jars, but these tools will make the process much smoother:
- Mason Jars or Clear Dessert Containers – Choose 4–8 oz jars depending on the portion size. Mason jars with lids are perfect for storage or gifting.
- Piping Bag or Ziplock Bag – Helps create neat frosting layers without making a mess.
- Serrated Knife or Cake Leveler – Useful for cutting even cake layers or rounds.
- Spatula and Spoons – For spreading, layering, and spooning in fillings or cake.
- Cake Cutter or Round Cookie Cutter – If you want uniform rounds of cake for layering.
💡 Pro Tip:
To save time, bake your cake the day before and let it cool completely. You can also use store-bought cake or cupcakes to make this recipe even faster—ideal for last-minute parties or gifting.
Step-by-Step Instructions for Making Cake Jars
Creating cake jars at home is surprisingly simple and incredibly fun. Whether you’re a seasoned baker or just getting started, these easy steps will guide you through the entire process—from baking your cake to assembling beautifully layered jars ready to impress. You can use homemade cake, boxed cake mix, or even store-bought cupcakes for a quick shortcut. Let’s get started!
Step 1: Bake and Cool Your Cake
Begin by choosing the cake flavor you want to use—chocolate, vanilla, red velvet, lemon, or even a funfetti mix.
- Follow your preferred recipe or bake a boxed cake according to package instructions.
- Once baked, allow the cake to cool completely. This step is crucial—warm cake will melt your frosting and ruin the layers.
- For neat layers, trim the cake top to level it and remove dry edges.
Time-saving tip: Store-bought cake or cupcakes can work just as well if you’re short on time.
Step 2: Prepare Frosting and Fillings
While the cake is cooling, get your fillings and frostings ready.
- Whip up or open your buttercream, whipped cream, or cream cheese frosting.
- Prep additional layers such as jam, fruit compote, pudding, or chocolate ganache.
- Place your frosting into a piping bag or zip-top bag with the corner snipped for easy layering.
Optional toppings like crushed cookies, sprinkles, or fresh berries can be prepped at this stage too.
Step 3: Cut the Cake for Layering
To layer the jars cleanly and evenly:
- Use a round cookie cutter or the opening of your jar to cut circles from your cake.
- Alternatively, crumble the cake into chunks for a rustic, trifle-style look.
- Make sure cake pieces fit well into the jar base for a solid first layer.
Step 4: Assemble the Cake Jars
This is where the magic happens—layer your cake and fillings inside the jar:
- Layer 1: Cake – Add a cake round or a handful of crumbs at the bottom of the jar.
- Layer 2: Frosting or Filling – Pipe or spoon in your frosting, jam, or compote.
- Repeat – Add another layer of cake, followed by more frosting and optional toppings.
- Final Layer – Finish with a swirl of frosting and decorative toppings like sprinkles, mini chocolate chips, or fruit.
You can create 2–3 layers depending on the height of your jar.
Step 5: Seal, Chill, and Serve
Once assembled:
- Seal the jars with a lid and refrigerate for 1–2 hours to allow flavors to meld.
- Cake jars can stay fresh in the fridge for up to 3–4 days.
- Serve directly in the jar with a spoon, or tie with ribbon and label if giving as a gift.
Flavor Variations to Try
One of the best things about cake jars is how customizable they are. Whether you’re making them for a birthday party, seasonal celebration, or just a personal treat, there’s a flavor combination to suit every taste. From decadent chocolate layers to fruity, refreshing bites, here are some irresistible cake jar flavor ideas to try at home.
🍫 Classic Chocolate Delight
A rich and indulgent treat for chocolate lovers.
- Cake Base: Moist chocolate cake or devil’s food cake
- Frosting: Chocolate ganache or chocolate buttercream
- Fillings: Chocolate chips, Nutella, or chocolate pudding
- Toppings: Mini marshmallows, crushed Oreos, or shaved chocolate
Perfect for birthdays, Valentine’s Day, or just because you’re craving something sweet and chocolaty.
❤️ Red Velvet with Cream Cheese Frosting
A timeless favorite that’s both elegant and delicious.
- Cake Base: Red velvet cake
- Frosting: Classic cream cheese frosting
- Fillings: Whipped cream or white chocolate mousse
- Toppings: Red velvet crumbs, heart sprinkles, or mini white chocolate chips
This combo is great for romantic occasions or as a sophisticated gift jar.
🍋 Lemon Berry Bliss
A bright, fruity option that feels light and refreshing.
- Cake Base: Lemon sponge or lemon pound cake
- Frosting: Whipped cream or lemon buttercream
- Fillings: Blueberry or raspberry compote
- Toppings: Fresh berries, lemon zest, or crushed meringue
Perfect for spring and summer gatherings or brunch desserts.
🎉 Funfetti Birthday Cake Jar
A playful and colorful choice that brings instant joy.
- Cake Base: Funfetti or vanilla sprinkle cake
- Frosting: Vanilla buttercream or whipped cream
- Fillings: Rainbow sprinkles, mini candies, or white chocolate chips
- Toppings: More sprinkles, colorful frosting swirls, or birthday candles
These are a hit at kids’ parties and make great birthday gifts-in-a-jar.
🍏 Caramel Apple Crumble Jar
Warm and comforting with fall flavors.
- Cake Base: Spice cake or cinnamon apple cake
- Frosting: Caramel frosting or cinnamon whipped cream
- Fillings: Apple pie filling or cooked cinnamon apples
- Toppings: Crushed graham crackers, caramel drizzle, or chopped pecans
Ideal for autumn, Thanksgiving, or cozy evenings at home.
Bonus Tips:
- You can swap out ingredients like frosting or fillings based on dietary needs (e.g., use dairy-free whipped cream or gluten-free cake).
- Combine seasonal fruits and flavors to keep things fresh year-round—think pumpkin spice in fall or strawberry shortcake in summer.
Tips for Serving, Gifting, and Storage
Once your cake jars are beautifully layered and ready to go, it’s time to think about how to serve, store, or gift them for maximum appeal. These little desserts aren’t just delicious—they’re perfect for parties, meal prepping, or even homemade gifts. Here are some smart and creative tips to help you get the most out of your mini dessert jars.
🎁 Gifting Cake Jars Made Easy
Cake jars make thoughtful and impressive gifts for nearly any occasion—birthdays, holidays, weddings, baby showers, or just to say “thank you.”
- Dress Them Up: Tie a ribbon around the jar neck and attach a handwritten label or gift tag. You can include the flavor name or a sweet message.
- Add a Spoon: Tape a mini wooden or plastic spoon to the side of the jar so it’s ready to eat—perfect for gifting on the go.
- Personalize the Lid: Decorate the mason jar lid with printable stickers, seasonal designs, or custom labels.
- Use a Gift Box or Basket: Package a few jars together in a box or basket with tissue paper for a beautiful presentation.
🍽️ Serving Suggestions for Parties and Events
Make your cake jars the highlight of any dessert table by presenting them in a fun and appealing way.
- Serve Chilled: Most cake jars taste best when served slightly chilled. Remove from the fridge 10–15 minutes before serving.
- Use Clear Jars: Display the beautiful layers in clear glass or plastic jars to create a “wow” factor on your dessert table.
- Set Up a Dessert Bar: Offer different flavors in labeled jars and let guests choose their favorite.
- Top Just Before Serving: Add fresh toppings like whipped cream, fruit, or sprinkles right before serving to keep textures fresh.
❄️ Storage Tips for Freshness and Flavor
Cake jars are easy to make ahead of time, and they store beautifully with the right approach.
- Refrigeration: Store your cake jars in the refrigerator, especially if they contain dairy-based fillings like whipped cream or cream cheese frosting.
- Shelf Life: Most cake jars stay fresh for up to 3–4 days in the fridge. For best texture, eat within 48 hours.
- Freezing: You can freeze cake jars (without whipped cream toppings) for up to one month. Thaw overnight in the fridge before serving.
- Keep the Lid Tight: Seal each jar tightly with a screw-on lid to preserve freshness and prevent moisture from getting in.
✨ Bonus Tip:
Make labels with the flavor name, made-on date, and a cute note like “Enjoy by…” for personal or professional use. This is especially useful if you’re selling cake jars, offering wedding favors, or preparing a large batch for events.


