The Best Fluffy Pancakes recipe you will fall in love with. Full of tips and tricks to help you make the best pancakes.
Jelly cakes are a delightful and visually stunning dessert that never fail to impress. With their vibrant colors, refreshing fruity flavors, and smooth, wobbly texture, they make a perfect treat for any occasion — from summer parties to birthdays or just a fun family dessert. Whether you’re a beginner or a seasoned baker, creating a beautiful layered jelly cake can seem tricky, but with the right ingredients and techniques, it’s easier than you think. In this step-by-step guide, I’ll walk you through everything you need to know to make your own stunning jelly cake at home — from choosing the best gelatin or agar agar, picking fresh fruits, to mastering the layering and decoration. Get ready to wow your guests with this colorful, no-bake dessert masterpiece!
What Is a Jelly Cake? Understanding the Basics
Jelly cake is a unique and eye-catching dessert that combines the refreshing qualities of gelatin-based jelly with the fun and familiar form of a cake. Unlike traditional cakes made primarily with flour, eggs, and butter, jelly cakes rely on gelatin or agar agar to create their signature wobbly, translucent layers. This makes jelly cakes not only visually stunning but also lighter and more refreshing—perfect for warmer weather or when you want a dessert that isn’t too heavy.
What Makes a Jelly Cake Different from Regular Cakes?
The defining feature of a jelly cake is its gelatinous texture. Instead of a dense crumb, it has smooth, jiggly layers that can be made in a variety of colors and flavors. These layers are often made with flavored gelatin mixed with fruit juice or other liquids. Jelly cakes are typically chilled in the refrigerator rather than baked in an oven, which means they’re easy to prepare even for those who aren’t confident bakers.
Common Ingredients: Gelatin, Agar Agar, Fruit Juice, and Fresh Fruits
The key to a great jelly cake lies in the ingredients. Gelatin, derived from animal collagen, is the most common gelling agent and creates a clear, firm jelly. For a vegetarian or vegan option, agar agar, a seaweed-based substitute, is a popular choice that sets jelly quickly and firmly. Fruit juices add natural flavor and color to each layer, while fresh fruits like strawberries, blueberries, and kiwi not only enhance taste but also add beautiful textures and pops of color inside the cake.
Types of Jelly Cakes: Clear Jelly, Layered Jelly, No-Bake Jelly Cake
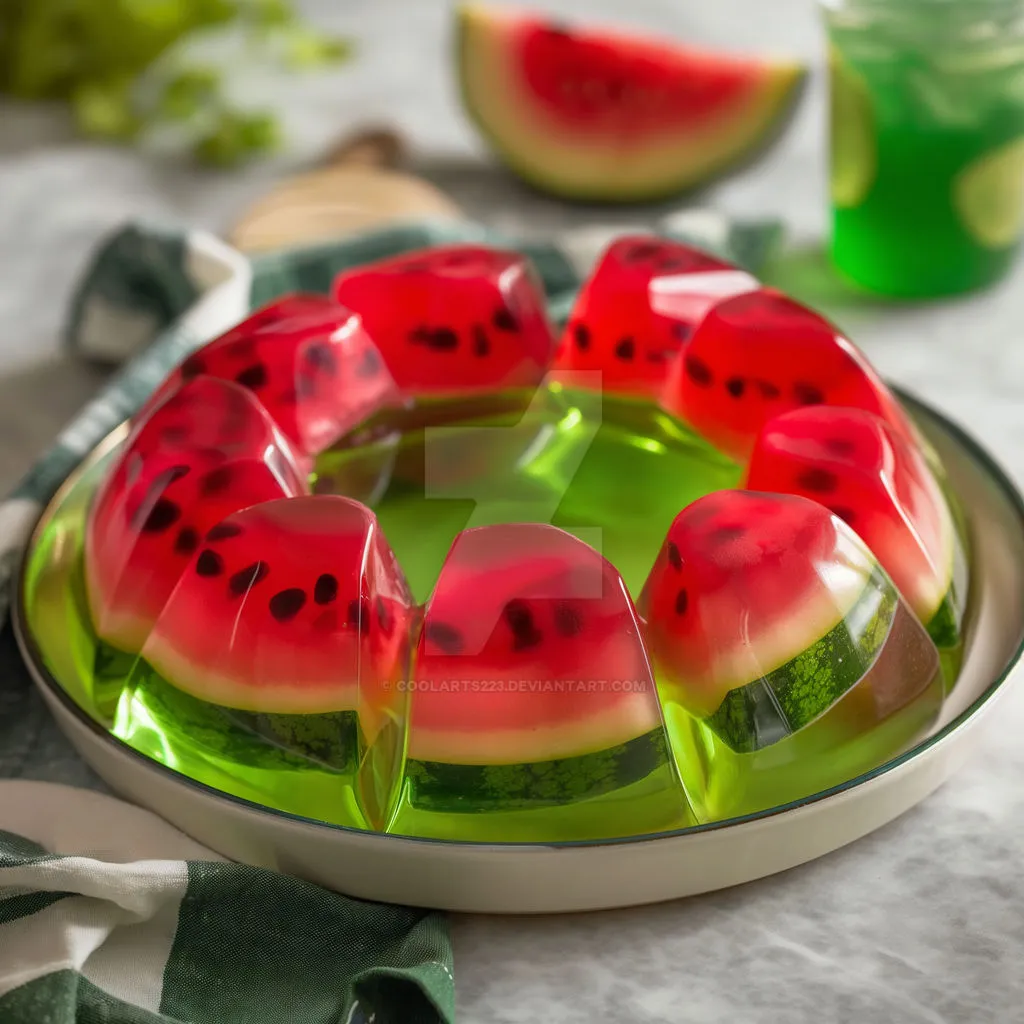
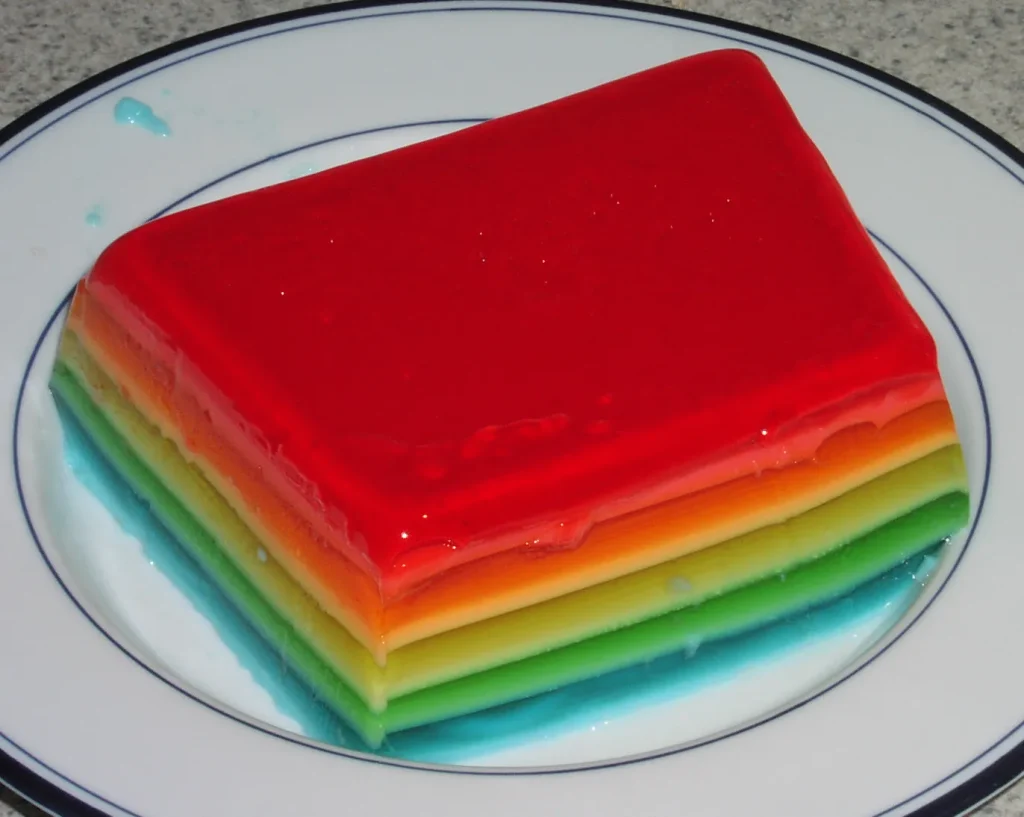
Jelly cakes come in many forms. Clear jelly cakes are often simple and elegant, showcasing suspended fruits or edible flowers within the transparent layers. Layered jelly cakes, on the other hand, feature multiple colorful layers stacked on top of each other, creating a vibrant rainbow effect that’s both delicious and visually stunning. There are also no-bake jelly cakes that combine jelly layers with a cake or biscuit base, making them even more versatile for dessert lovers.
Popular Occasions to Serve Jelly Cake
Because of their light texture and bright appearance, jelly cakes are favorites for celebrations and warm weather events. They are perfect for birthday parties, baby showers, summer picnics, and holiday gatherings. Their colorful, customizable nature means you can tailor the cake’s appearance and flavors to match any theme or preference, making jelly cakes a versatile addition to your dessert repertoire.
Essential Ingredients and Tools for Your Jelly Cake
Before diving into making your stunning jelly cake, it’s important to gather the right ingredients and tools. Having everything prepared and on hand will make the process smooth and enjoyable. Below, we’ll go over the must-have ingredients and kitchen tools that will help you create beautiful, delicious jelly cakes every time.
Choosing the Right Gelling Agent: Gelatin or Agar Agar
The foundation of any jelly cake is the gelling agent. Most traditional recipes use gelatin, which is animal-based and creates a smooth, clear jelly that sets perfectly. It’s ideal if you want a classic jelly texture with a slight jiggle. However, if you prefer a vegetarian or vegan alternative, agar agar is an excellent choice. Derived from seaweed, agar agar sets more firmly and quickly than gelatin and can be used to make a similar jelly-like dessert. Keep in mind that agar agar requires boiling to activate, whereas gelatin is usually dissolved in warm liquid.
Best Fruits for Jelly Cakes
Fresh fruits play a dual role in jelly cakes—they add natural sweetness and flavor, and they make your cake visually stunning. Popular choices include:
- Strawberries: Bright red and sweet, they complement almost any jelly flavor.
- Blueberries: Small and colorful, they add contrast and texture.
- Kiwi: Its vibrant green color and tart flavor add a refreshing twist.
- Mandarin segments or peaches: Perfect for a tropical or citrusy flavor profile.
You can mix and match fruits based on your preference or the theme of your cake. Just make sure to slice larger fruits thinly to help them set well inside the jelly layers.
Cake Base Options: Sponge Cake, Biscuit Base, or No Base at All
While some jelly cakes are just pure jelly layers, many recipes include a cake base to add texture and make the dessert more substantial. Common bases include:
- Sponge cake: Light and airy, it soaks up some moisture from the jelly and provides a soft foundation.
- Biscuit or cookie base: Crushed biscuits mixed with butter create a crunchy, crumbly base that contrasts nicely with the smooth jelly.
- No base: For a lighter dessert, you can simply layer the jelly in molds without any base at all.
Your choice depends on the texture you want and how rich or light you prefer the final dessert.
Useful Tools: Jelly Molds, Food Coloring, Mixing Bowls, Refrigerator
Having the right tools makes all the difference when working with jelly:
- Jelly molds: Silicone molds or clear glass pans are ideal for shaping your cake and achieving smooth, clean edges. Transparent molds help you see the layers as you build them.
- Food coloring: To create vibrant, colorful layers, food coloring is your best friend. Use gel-based colors for intense hues without altering the jelly’s texture.
- Mixing bowls and measuring cups: Essential for dissolving gelatin or agar agar and mixing with juices or other liquids.
- Refrigerator: Jelly cakes need time to chill and set properly between layers. A cold fridge is crucial for firm, well-defined layers.
Step-by-Step Guide to Making a Stunning Jelly Cake
Making a jelly cake might seem intimidating at first, but by following these clear, step-by-step instructions with exact measurements, you’ll be able to create a beautiful and delicious dessert.
Preparing the Gelatin or Agar Agar Mixture Correctly
- Gelatin: Use about 2 teaspoons (7 grams) of powdered gelatin to set approximately 2 cups (480 ml) of liquid.
- Agar Agar: Use about 1 teaspoon (3 grams) of agar agar powder per 2 cups (480 ml) of liquid.
- For the liquid, substitute plain water with 2 cups (480 ml) of fruit juice like orange, apple, or grape juice for flavor.
- Soak the gelatin in 1/4 cup (60 ml) of cold water for 5 minutes (blooming), then dissolve it in 1 3/4 cups (420 ml) of warm juice.
- For agar agar, boil the powder in the full 2 cups (480 ml) of juice for about 2 minutes until completely dissolved.
For the best results, we recommend using a quality saucepan like the Ninja NeverStick Hard Anodized Medium Saucepan for even heating and easy cleanup.
How to Layer Your Jelly Cake for a Colorful and Beautiful Effect
- Pour about 1/2 to 3/4 cup (120-180 ml) of the prepared jelly mixture into your mold for each layer.
- Chill in the refrigerator for 20-30 minutes or until the layer is firm but slightly tacky to the touch.
- Repeat for 3-5 layers depending on your mold size and desired cake height.
- When adding fruit pieces, use approximately 1/2 cup (75 grams) of sliced fresh fruit per layer.
Adding Fresh Fruits and Other Decorations Inside the Jelly Layers
- For best results, slice fruits thinly—about 1/8 inch (3 mm) thick—so they set well inside the jelly.
- Use up to 1/2 cup (75 grams) of fresh fruits per layer to avoid overcrowding.
- Avoid fruits that release too much liquid (e.g., watermelon) to keep the jelly firm.
Tips for Chilling and Setting the Jelly Cake Perfectly
- Allow each layer to chill for at least 30 minutes at around 35-40°F (2-4°C) in the refrigerator.
- After completing all layers, chill the entire cake for a minimum of 3-4 hours or preferably overnight for best results.
Creative Jelly Cake Decoration Ideas
Once you’ve mastered the art of making the perfect jelly cake layers, it’s time to have fun with decorations! Jelly cakes are not only about taste—they’re also about stunning visual appeal. With a bit of creativity, you can transform your jelly cake into a true showstopper that delights both the eyes and the palate. Here are some inspiring decoration ideas to take your jelly cake to the next level.
1. Fresh Fruit Arrangements on Top
One of the simplest yet most elegant ways to decorate your jelly cake is by arranging fresh fruit on the surface. Choose fruits that complement the flavors of your jelly layers and use vibrant colors to create eye-catching patterns.
- Tips: Slice strawberries, kiwi, mango, or citrus fruits thinly for delicate layering.
- Create flower patterns, spirals, or geometric designs for an artistic touch.
- Use small berries like blueberries or raspberries as accents.
2. Whipped Cream or Coconut Cream Borders
Adding a piped border of whipped cream or coconut cream not only enhances the look but also adds a creamy texture contrast to the light jelly.
- Use a piping bag fitted with decorative nozzles to create rosettes or stars along the edges.
- For a dairy-free option, coconut cream whipped with a little powdered sugar works beautifully.
- You can also sprinkle edible glitter or colored sugar on the cream for extra sparkle.
3. Edible Flowers and Herbs
For a natural, sophisticated look, decorate your jelly cake with edible flowers and fresh herbs. They add subtle flavor notes and make your cake look fresh and unique.
- Popular edible flowers include pansies, violets, marigolds, and nasturtiums.
- Fresh mint, basil, or lemon balm leaves can add a refreshing aroma and complement fruity flavors.
- Be sure flowers and herbs are pesticide-free and safe for consumption.
4. Jelly “Glaze” and Shiny Finishes
Give your cake an extra glossy finish by brushing a thin layer of clear gelatin or fruit glaze over the top layer.
- This technique enhances the shine and preserves fresh fruit decorations.
- It also helps seal moisture, keeping your cake fresh longer.
- You can make a simple glaze by dissolving 1 teaspoon of gelatin in 1/4 cup of warm water and brushing it on gently.
5. Creative Shapes and Layers
Instead of a traditional round cake, experiment with different molds and shapes to create visually exciting presentations.
- Try square, heart-shaped, or geometric silicone molds for a modern twist.
- Layer colors in gradients or patterns, such as ombré effects, for a sophisticated look.
- Use molds with textures or designs to imprint patterns on the jelly surface.
Troubleshooting and Tips for Perfect Jelly Cakes Every Time
Creating a stunning jelly cake is incredibly rewarding, but it can sometimes come with a few challenges. Whether you’re a beginner or a seasoned baker, knowing how to troubleshoot common issues and apply expert tips can make all the difference. Here’s how to avoid pitfalls and ensure your jelly cake turns out flawless every time.
Common Problems and How to Fix Them
- Jelly Doesn’t Set Properly:
This is often due to incorrect gelatin or agar agar ratios, or improper preparation. Always measure your gelling agent carefully — for gelatin, about 2 teaspoons (7 grams) per 2 cups (480 ml) of liquid; for agar agar, about 1 teaspoon (3 grams) per 2 cups (480 ml). Also, make sure to fully dissolve the gelatin or agar agar by soaking or boiling as required. If your jelly is too soft, add a little more gelatin or agar agar next time. - Layers Mixing Together:
If your layers are blending, it’s likely because the previous layer wasn’t firm enough before adding the next one. Be patient and chill each layer until it’s fully set but still slightly tacky before pouring the next layer on top. This tackiness helps the layers stick without mixing. - Air Bubbles in Jelly:
Air bubbles can make the jelly look cloudy or rough. To avoid this, stir the mixture gently and avoid whisking vigorously. After pouring jelly into the mold, you can gently tap the mold on the counter to release trapped air bubbles. - Fruits Sinking or Bleeding Color:
Some fruits, like strawberries or kiwi, can sometimes sink or release juice that colors the jelly. To prevent sinking, lightly coat fruits in a thin layer of jelly or gelatin before adding them to the mold. To avoid bleeding, choose fruits that hold their color well, and add them after the jelly has partially set.
Pro Tips for Success
- Use High-Quality Ingredients:
The flavor and appearance of your jelly cake depend greatly on the quality of your juice, fruits, and gelatin. Fresh, ripe fruits and 100% natural juice will give the best results. - Temperature Control:
Don’t rush the chilling process. Setting jelly at too warm a temperature results in slow or incomplete setting, while placing it too close to the freezer can cause cracking or uneven texture. Aim for a steady fridge temperature of about 35-40°F (2-4°C). - Layer Thickness:
Keep each jelly layer about 1/2 inch (1.25 cm) thick for easy setting and beautiful definition between layers. Thicker layers take longer to set and increase the risk of mixing. - Preparing Molds:
Use silicone molds or lightly grease glass molds with a neutral oil or non-stick spray for easy removal. Running a thin knife around the edges before unmolding can also help release the cake smoothly. - Timing and Patience:
The key to a flawless jelly cake is patience. Allow enough time for each step—rushing through layering or chilling can compromise texture and appearance.
How to Store Your Jelly Cake
- Keep your jelly cake refrigerated and covered loosely with plastic wrap to prevent it from absorbing fridge odors or drying out.
- Jelly cakes are best eaten within 2-3 days for optimal freshness and texture.
- Avoid freezing jelly cakes, as freezing can ruin the delicate jelly texture and cause water separation.


Toonaangevende adult websites leveren veilig hoogwaardige expliciete inhoud.
Kies voor betrouwbare bronnen voor een discrete ervaring.
My site: BUY XANAX WITHOUT PRESCRITION