The Best Fluffy Pancakes recipe you will fall in love with. Full of tips and tricks to help you make the best pancakes.
There’s something truly special about the sweet, tropical flavor of guava — especially when it’s baked into a soft, fluffy cake that feels like a slice of paradise. This homemade guava cake brings the sunny taste of Hawaii straight to your kitchen, blending light sponge layers, creamy frosting, and a vibrant guava glaze that adds a fruity finish.
Perfect for summer gatherings, birthdays, or anytime you crave something unique, this Hawaiian-inspired dessert is easy to make and bursting with color and flavor. With its moist texture and subtle sweetness, guava cake stands out from ordinary fruit cakes — offering a tropical twist that’s both refreshing and irresistible.
In this post, you’ll learn how to make the best guava cake from scratch, discover essential ingredients and tools, and pick up tips for frosting, serving, and storing your creation. Whether you’re a baking beginner or an island dessert enthusiast, this guava cake recipe will become one of your favorite treats to share and enjoy.
What Makes Guava Cake So Special
Guava cake isn’t just another tropical dessert — it’s a celebration of flavor, color, and culture. This Hawaiian-inspired treat perfectly balances fruity sweetness with creamy richness, making it a standout dessert for any occasion. From its soft, moist texture to its bright pink glaze, every slice of guava cake feels like a bite of sunshine.
The Origins of Hawaiian Guava Cake
Guava cake has deep roots in Hawaiian cuisine, where tropical fruits like guava, pineapple, and passion fruit are often used to create refreshing desserts. Originally inspired by Asian and island baking traditions, Hawaiian guava cake became popular for its vibrant color and unique fruity flavor. Many bakeries in Hawaii serve it layered with cream cheese frosting and topped with a glossy guava glaze, giving it both sweetness and tang in every bite.
Why Guava Adds the Perfect Tropical Twist
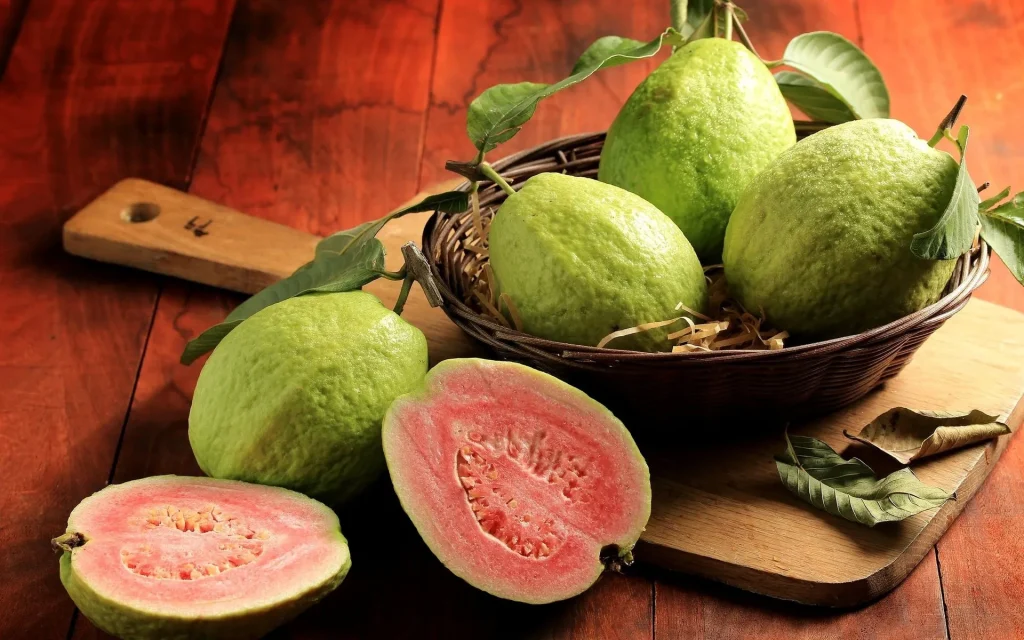
What makes guava so irresistible in baking is its natural fruity aroma and sweet-tart flavor. When blended into the cake batter or glaze, guava nectar or puree infuses the dessert with a tropical depth that feels both refreshing and indulgent. Unlike berries or citrus fruits, guava has a creamy, floral undertone that pairs beautifully with the light texture of sponge cake and the richness of cream cheese frosting.
The Secret to Its Soft and Moist Texture
The secret behind the fluffy and moist guava cake lies in its perfect balance of wet and dry ingredients. The use of butter, eggs, and guava puree creates a smooth batter that bakes evenly into a light sponge. The guava glaze locks in moisture, while the cream cheese frosting adds creaminess and a subtle tang. The result? A dessert that’s tender, flavorful, and never dry — just like the tropical cakes found in Hawaiian bakeries.
Popular Variations Around the Islands
Across Hawaii, you’ll find different takes on the classic guava cake. Some versions include a layer of guava jelly between the cake and frosting, while others use guava-flavored chiffon for extra airiness. For a more festive touch, bakers often add coconut flakes, passion fruit glaze, or even fresh tropical fruit toppings. No matter the variation, one thing remains constant — the signature guava flavor that makes this cake a beloved island favorite.
Ingredients and Tools You’ll Need
Before you start baking your fluffy and fruity guava cake, it’s important to have all your ingredients and tools ready. The beauty of this recipe is that it uses simple pantry staples combined with tropical guava flavors to create a soft, moist, and vibrant dessert.
Essential Ingredients for the Cake Batter
Dry Ingredients:
- 2 ½ cups all-purpose flour
- 2 ½ tsp baking powder
- ½ tsp salt
Wet Ingredients:
- 1 cup unsalted butter, softened
- 1 ½ cups granulated sugar
- 4 large eggs, at room temperature
- 1 tsp vanilla extract
- 1 cup guava puree or guava nectar (use fresh or store-bought)
- ½ cup milk
These ingredients combine to create a light and airy sponge base with a hint of tropical guava flavor. The guava puree not only adds a fruity aroma but also keeps the cake soft and moist.
The Cream Cheese Frosting and Guava Glaze
For the Frosting:
- 8 oz (225 g) cream cheese, softened
- ½ cup unsalted butter, softened
- 3 cups powdered sugar
- 1 tsp vanilla extract
For the Guava Glaze:
- 1 cup guava nectar or juice
- 2 tbsp cornstarch
- ¼ cup water
- ¼ cup sugar
(Optional: few drops of red or pink food coloring for a vibrant look)
The cream cheese frosting adds a rich, tangy balance to the sweet guava flavor, while the glaze gives the cake its signature pink shine and tropical finish.
Baking Tools and Equipment Checklist
Make sure you have these tools on hand before you begin:
- Mixing bowls (medium and large)
- Electric mixer or hand whisk
- Rubber spatula
- Measuring cups and spoons
- 9×13-inch cake pan or two 8-inch round pans
- Wire cooling rack
- Saucepan (for the glaze)
- Offset spatula or spoon (for spreading frosting)
Having your tools prepared helps you bake smoothly and avoid overmixing, which ensures a perfectly fluffy cake texture.
Substitutions and Helpful Tips
- You can replace guava puree with guava jam or jelly thinned with a little water.
- For a lighter texture, use cake flour instead of all-purpose flour.
- Add a few tablespoons of shredded coconut or lime zest for a tropical twist.
- If you’re lactose intolerant, substitute milk with coconut milk for extra flavor.
These small changes allow you to customize your homemade guava cake while keeping its authentic tropical taste.
Step-by-Step Recipe: How to Make Homemade Guava Cake
Now that you have all your ingredients and tools ready, it’s time to bring this Hawaiian-inspired dessert to life. Follow these simple steps to bake a soft, moist, and fruity guava cake with a creamy frosting and glossy guava glaze. Whether you’re an experienced baker or a beginner, this recipe is easy to follow and delivers delicious results every time.
Preparing the Guava Mixture (Nectar or Puree)
- In a small saucepan, pour 1 cup of guava nectar or puree.
- Warm it gently over low heat to enhance its tropical aroma — do not boil.
- If your guava puree is thick, add 1–2 tablespoons of water to thin it slightly.
- Set aside to cool while you prepare the batter.
💡 Tip: Using guava nectar gives a lighter, fruity flavor, while puree creates a deeper, more intense guava taste. You can even mix both for a perfect balance.
Mixing the Batter for a Fluffy Cake
- In a large mixing bowl, cream together butter and sugar using an electric mixer until light and fluffy (about 2–3 minutes).
- Add the eggs one at a time, beating well after each addition.
- Stir in vanilla extract for a hint of sweetness.
- In a separate bowl, whisk together flour, baking powder, and salt.
- Gradually add the dry ingredients to the wet mixture, alternating with milk and guava puree. Begin and end with the dry ingredients.
- Mix just until combined — avoid overmixing to keep your cake tender.
The batter should be smooth, creamy, and lightly pink in color.
(Keywords: homemade guava cake, fluffy guava cake, moist guava cake recipe)
Baking to Perfection and Cooling Tips
- Preheat your oven to 350°F (175°C).
- Grease a 9×13-inch pan or two 8-inch round pans and line them with parchment paper.
- Pour the batter evenly into the pan(s) and smooth the top with a spatula.
- Bake for 30–35 minutes, or until a toothpick inserted in the center comes out clean.
- Allow the cake to cool in the pan for 10 minutes, then transfer to a wire rack to cool completely before frosting.
💡 Tip: The cake should feel springy and light to the touch — a sign of a perfectly baked, fluffy sponge.
)
Adding the Cream Cheese Frosting and Guava Glaze
For the Frosting:
- In a mixing bowl, beat cream cheese and butter together until smooth.
- Gradually add powdered sugar, one cup at a time, and continue mixing until creamy.
- Stir in vanilla extract for extra flavor.
Spread the frosting evenly over the cooled cake using a spatula.
For the Glaze:
- In a small saucepan, combine guava nectar, sugar, cornstarch, and water.
- Cook over medium heat, stirring constantly until the mixture thickens (about 3–5 minutes).
- Let the glaze cool slightly, then pour it gently over the frosted cake, allowing it to drip down the sides.
Once the glaze sets, your fluffy and fruity guava cake is ready to serve! The contrast of creamy frosting and glossy guava glaze creates a visually stunning dessert that tastes just as amazing as it looks.
Serving Ideas and Flavor Variations
Once your homemade guava cake is baked, frosted, and glazed, it’s time to get creative with how you serve and enjoy it. This tropical dessert is not only delicious but also incredibly versatile — perfect for summer parties, family gatherings, or even as a show-stopping birthday treat. Here are some ideas to help you make your guava cake recipe truly unforgettable.
Pairing Guava Cake with Tropical Fruits
To highlight the cake’s natural tropical sweetness, serve it with a medley of fresh fruits that complement the guava flavor. Try adding:
- Slices of pineapple, mango, or kiwi for extra brightness.
- Passion fruit pulp for a tangy twist.
- Shredded coconut for added texture and a tropical flair.
You can also garnish the top of your cake with guava slices or candied fruit for a beautiful finish. These fruit pairings not only enhance flavor but also make your dessert look fresh, colorful, and irresistible.
Creative Toppings and Decorations
Transform your guava cake into a centerpiece-worthy dessert with fun and festive decorations.
Try these easy ideas:
- Sprinkle toasted coconut flakes over the guava glaze for a Hawaiian touch.
- Add edible flowers such as hibiscus or orchids for a tropical presentation.
- Use white chocolate curls or fresh mint leaves for a contrasting look.
- For a party-ready twist, top each slice with a small dollop of whipped cream and a guava jelly swirl.
Whether you prefer elegant or playful, these toppings make your Hawaiian guava cake look just as good as it tastes.
Turning Guava Cake into Cupcakes or Mini Bites
If you want a portable or party-friendly version of this dessert, turn the recipe into guava cupcakes or mini cakes.
Here’s how:
- Pour the batter into lined cupcake tins instead of a large pan.
- Bake at 350°F (175°C) for 18–20 minutes, or until a toothpick comes out clean.
- Once cooled, top each cupcake with cream cheese frosting and a spoonful of guava glaze.
These bite-sized versions are perfect for potlucks, birthdays, or dessert tables — and they capture all the same flavors in a fun, easy-to-serve form.
Perfect Drinks to Serve with Guava Cake
Pair your fluffy guava cake with drinks that balance its fruity sweetness and creamy texture. Some great options include:
- Iced coconut latte or cold brew coffee for a refreshing contrast.
- Passion fruit iced tea or guava lemonade for extra tropical flavor.
- Sparkling water with lime to cleanse the palate.
- For a festive touch, try a guava mimosa or pineapple punch (non-alcoholic or cocktail versions).
These drinks enhance the tropical theme and make your dessert experience even more delightful.
Tips for Storing and Making Ahead
A well-made guava cake stays moist, soft, and flavorful even after a few days — as long as it’s stored correctly. Whether you’re preparing your cake in advance for a celebration or saving leftovers for later, following these simple storage and make-ahead tips will keep your dessert as delicious as the day it was baked.
How to Keep Your Guava Cake Moist
The key to maintaining that light, fluffy texture is proper storage.
Here’s how to do it:
- Allow the cake to cool completely before covering or refrigerating. Trapping steam can make the glaze runny and the cake soggy.
- Wrap the cake tightly in plastic wrap or store it in an airtight container.
- Keep it at room temperature for up to 2 days, or refrigerate for up to 5 days.
If you’ve added cream cheese frosting, always refrigerate the cake to keep the frosting stable. Before serving, let it rest at room temperature for 15–20 minutes for the best flavor and texture.
Freezing and Thawing Tips for Later
Guava cake freezes beautifully — perfect if you want to make it ahead of time or save leftovers.
Follow these steps:
- Wrap the unfrosted cake layers tightly in plastic wrap, then in aluminum foil to prevent freezer burn.
- Label and freeze for up to 2 months.
- When ready to serve, thaw overnight in the refrigerator.
- Once thawed, apply the cream cheese frosting and guava glaze just before serving for a fresh look and taste.
You can also freeze individual slices for easy grab-and-go desserts. Just wrap each slice in parchment paper and store in a freezer-safe bag.
Make-Ahead Frosting and Glaze Storage
Both the cream cheese frosting and guava glaze can be made in advance to save time:
- Cream cheese frosting: Store in an airtight container in the refrigerator for up to 3 days. Before using, let it soften slightly and beat it again for a fluffy texture.
- Guava glaze: Store in a sealed jar in the refrigerator for up to 5 days. Reheat gently in the microwave or on the stove before drizzling over the cake.
Making these components ahead ensures your baking day is quick, organized, and stress-free — while keeping all the tropical freshness intact.
Common Mistakes and How to Avoid Them
To keep your guava cake perfect every time, avoid these common pitfalls:
- Overmixing the batter, which can make the cake dense instead of light and airy.
- Skipping cooling time — always let the cake cool fully before adding frosting or glaze, or it may melt and slide off.
- Leaving the cake uncovered, which dries it out quickly.
- Using too much glaze; a thin layer creates the ideal shiny finish without making the cake overly sweet.


My wife and i got really fulfilled Louis managed to finish up his researching by way of the ideas he made from your web site. It’s not at all simplistic to just find yourself giving freely tips and tricks men and women may have been making money from. And we already know we need the writer to be grateful to because of that. The most important explanations you’ve made, the straightforward blog menu, the relationships your site make it easier to instill – it is all impressive, and it’s facilitating our son in addition to us feel that this subject matter is fun, which is certainly exceptionally mandatory. Thank you for the whole thing!