The Best Fluffy Pancakes recipe you will fall in love with. Full of tips and tricks to help you make the best pancakes.
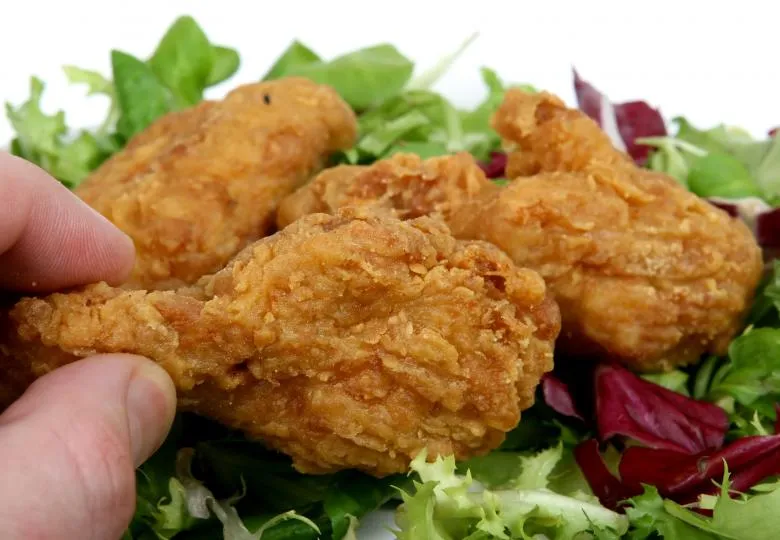
There’s nothing quite like biting into a piece of crispy, golden fried chicken with a juicy, flavorful inside. But what if you could achieve that same crunch without deep frying for hours? That’s where the pressure cooker comes in!
Using a pressure cooker for fried chicken speeds up the cooking process while keeping the meat tender and juicy. With the right technique, you can get perfectly crispy skin using a quick fry after pressure cooking. Whether you’re making Southern-style buttermilk fried chicken or a spicy, crunchy version, this method is a game-changer for home cooks.
In this guide, we’ll walk you through everything you need to know to make crispy fried chicken in a pressure cooker—from ingredient selection and step-by-step instructions to expert tips for achieving the ultimate crunch. Let’s get cooking!
Why Use a Pressure Cooker for Fried Chicken?
If you love crispy, golden-brown fried chicken but want a faster, more efficient cooking method, a pressure cooker is the perfect solution. Traditional deep frying can be time-consuming, requiring constant monitoring of oil temperature, while oven baking often lacks the signature crunch. A pressure cooker speeds up the cooking process while keeping the chicken tender and juicy on the inside and crispy on the outside when finished with a quick fry.
Here’s why using a pressure cooker for fried chicken is a game-changer:
1. Faster Cooking Time
One of the biggest advantages of using a pressure cooker is that it significantly reduces cooking time compared to traditional frying. The high-pressure environment locks in moisture and speeds up the cooking process, ensuring that the chicken is fully cooked in a fraction of the time. Instead of waiting for oil to heat up and chicken to cook thoroughly in a deep fryer, the pressure cooker does most of the work in just a few minutes.
2. Juicier and More Flavorful Chicken
One common issue with deep frying is that the outer crust cooks too fast, leaving the inside undercooked or dry. With a pressure cooker, the chicken is cooked evenly, sealing in its natural juices and flavors. Marinating the chicken beforehand in buttermilk and seasonings enhances its tenderness, while the pressurized cooking environment prevents the meat from drying out.
3. A Crispier Crust with Less Oil
While a traditional deep fryer requires a large amount of oil to submerge the chicken completely, a pressure cooker minimizes excess oil usage. The chicken is first pressure-cooked to achieve tenderness and is then quickly fried to develop a crispy, golden crust. This method reduces oil absorption, making the fried chicken less greasy but still incredibly crunchy.
4. Difference Between Air Fryer and Pressure Cooker Fried Chicken
Many people wonder whether an air fryer can achieve the same results as a pressure cooker. While an air fryer does create a crispy texture, it often lacks the moist, juicy interior that pressure cooking provides. The pressure cooker ensures the inside is perfectly tender, while finishing with a quick fry gives you that classic crispy fried chicken texture that air fryers can sometimes struggle to achieve.
Ingredients for Crunchy Pressure Cooker Fried Chicken
The key to making crispy, golden-brown fried chicken in a pressure cooker starts with choosing the right ingredients. Every component—from the type of chicken to the seasonings and coating—plays a role in achieving the perfect juicy inside and crunchy outside. Let’s break down the essential ingredients you’ll need.
1. Choosing the Right Chicken
The cut of chicken you use can make a big difference in texture and flavor. Here are some options to consider:
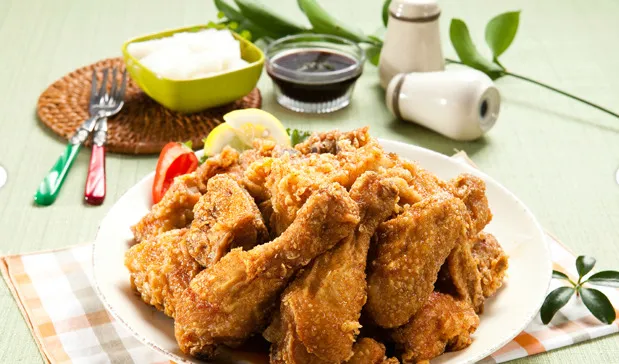
- Drumsticks – A classic choice for fried chicken, drumsticks have a rich flavor and remain juicy when cooked.
- Thighs – Bone-in, skin-on thighs are ideal because they have more fat, making them extra flavorful and moist.
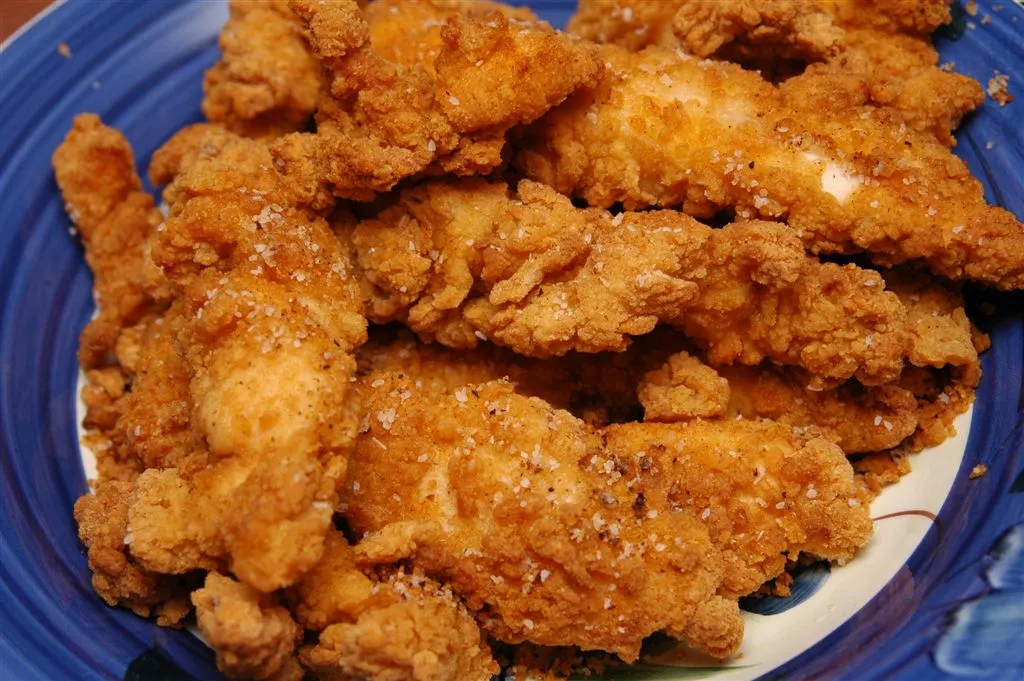
- Wings – Perfect for crispy, bite-sized fried chicken with lots of crunchy coating.
- Chicken Breast – A leaner option, but it requires careful cooking to avoid dryness.
Tip: Bone-in, skin-on chicken pieces work best for fried chicken, as the skin helps lock in moisture and crisp up beautifully when fried.
2. Essential Seasonings for Flavorful Chicken
A flavorful spice blend is crucial for well-seasoned, restaurant-quality fried chicken. Here’s what you’ll need:
- Paprika – Adds a mild smokiness and enhances color.
- Garlic Powder – Provides a deep, savory taste.
- Onion Powder – Complements the garlic for a well-rounded flavor.
- Black Pepper – Gives the chicken a subtle heat.
- Cayenne Pepper (optional) – Adds a spicy kick for those who love extra heat.
- Salt – Brings out the flavors of all the other spices.
- Dried Herbs (optional) – Oregano, thyme, or parsley can add a unique depth of flavor.
Tip: Season both the chicken and the flour coating generously to ensure every bite is packed with flavor.
3. The Crispy Coating Mix
To get that perfectly crunchy crust, you need a well-balanced coating mixture. Here’s what to include:
- All-Purpose Flour – The base for a crispy, golden coating.
- Cornstarch – Helps create a light, extra crispy texture.
- Baking Powder – Helps aerate the coating, making it crispier.
- Buttermilk (for marinating) – Tenderizes the chicken and helps the coating stick better.
- Eggs (optional) – Adds an extra layer of binding for a thick, crunchy crust.
Tip: Double-dipping the chicken in buttermilk and flour creates a thicker, crunchier coating. For extra crispiness, let the coated chicken rest for 10–15 minutes before cooking.
4. Choosing the Right Cooking Oil
To get a crispy, golden-brown finish, you’ll need the right oil for frying. Here are some top choices:
- Peanut Oil – High smoke point and neutral flavor, great for deep frying.
- Canola Oil – A popular, budget-friendly option with a mild taste.
- Vegetable Oil – Works well for frying but should be changed after a few uses.
- Sunflower Oil – Another good high-smoke-point option for frying chicken.
Tip: Avoid using olive oil, as it has a low smoke point and may burn before achieving the desired crispiness.
Step-by-Step Instructions to Make Fried Chicken in a Pressure Cooker
Making crispy, juicy fried chicken in a pressure cooker involves marinating, coating, pressure cooking, and crisping. Each step plays a crucial role in ensuring the chicken is tender on the inside while achieving that golden, crunchy exterior. Follow these detailed steps for the best results!
Marinate the Chicken for Extra Flavor and Juiciness
Marinating the chicken is essential to tenderize the meat and infuse it with rich flavor.
How to Marinate:
- Prepare the buttermilk marinade: In a large bowl, whisk together buttermilk, salt, black pepper, paprika, garlic powder, and cayenne pepper (optional for heat).
- Submerge the chicken: Add the chicken pieces to the buttermilk mixture, ensuring they are fully coated.
- Let it marinate: Cover the bowl and refrigerate for at least 1 hour (for best results, marinate for 4–8 hours or overnight).
Prepare the Crispy Coating
The right coating gives fried chicken its crunchy texture.
How to Make the Perfect Coating:
- In a separate bowl, mix:
- All-purpose flour (1 ½ cups)
- Cornstarch (½ cup) – for extra crispiness
- Baking powder (1 teaspoon) – for a light, airy texture
- Salt, paprika, garlic powder, onion powder, and black pepper – for flavor
- In another bowl, whisk 2 eggs with a little buttermilk (for better coating adherence).
- Remove the marinated chicken from the buttermilk and let the excess drip off.
- Coat the chicken:
- First, dredge it in the flour mixture, shaking off excess.
- Then, dip it in the egg mixture.
- Finally, coat it again in the flour mixture for a thicker, crispier crust.
Pressure Cook the Chicken
Now it’s time to cook the chicken in the pressure cooker to ensure it’s tender and fully cooked inside.
How to Pressure Cook:
- Add water or broth: Pour 1 cup of water or chicken broth into the pressure cooker to create steam.
- Place the chicken in a steamer basket or trivet: This prevents it from sitting directly in the liquid.
- Set the pressure cooker:
- Cook on High Pressure for 6–8 minutes (for bone-in chicken) or 5 minutes (for boneless).
- Natural Release for 5 minutes, then Quick Release.
Crisp the Chicken to Perfection
Since pressure cooking doesn’t create a crispy crust, the final step is frying or air frying for the perfect crunch.
Frying Method (Deep Frying for Maximum Crunch)
- Heat oil (peanut, canola, or vegetable oil) in a deep skillet or fryer to 350°F (175°C).
- Gently lower the chicken into the hot oil and fry for 2–3 minutes per side, or until golden brown and crispy.
- Drain on a wire rack over a baking sheet to keep the coating crispy.
Air Fryer or Oven Method (Less Oil, Still Crispy)
- Air fryer: Brush or spray the chicken lightly with oil and air-fry at 400°F (200°C) for 5–7 minutes.
- Oven: Place the chicken on a wire rack over a baking sheet and bake at 450°F (230°C) for 5–10 minutes until crispy.
Tips for the Crispiest Fried Chicken
Achieving perfectly crispy fried chicken isn’t just about the recipe—it’s about mastering the technique. Using a pressure cooker ensures the chicken is juicy inside, but to get that irresistible crunch, you need to follow a few key tips. Here’s how to make sure your fried chicken turns out extra crispy every time.
1. Double Dipping for a Crunchier Coating
One of the best ways to achieve a thick, crispy crust is to use a double-dipping method when breading the chicken.
How to Double Dip:
- After marinating, dredge the chicken in seasoned flour and shake off excess.
- Dip the chicken back into buttermilk (or a beaten egg mixture).
- Dredge again in the flour mixture, pressing firmly to help the coating stick.
Why This Works: The double coating creates a thicker, crunchier crust that holds up better when frying.
2. Let the Coated Chicken Rest Before Cooking
After breading, let the chicken rest on a wire rack for 10–15 minutes before frying.
Why This Works:
- Helps the flour absorb moisture, so the coating adheres better.
- Prevents the breading from falling off during frying.
- Creates a more even, crispy texture.
3. Choose the Right Oil for Frying
Using the right oil is crucial for getting crispy, golden-brown fried chicken.
Best Oils for Frying:
- Peanut Oil – High smoke point, neutral taste, and great for deep frying.
- Canola Oil – Affordable and produces a nice crispy texture.
- Vegetable Oil – A common option, but should be changed after a few uses.
- Sunflower Oil – Another good choice with a light flavor.
Avoid Olive Oil – It has a low smoke point and can burn before the chicken gets crispy.
4. Maintain the Perfect Frying Temperature
For crispy fried chicken, you need to fry at the right oil temperature: 350–375°F (175–190°C).
How to Maintain Proper Oil Temperature:
- Use a candy or deep-fry thermometer to monitor oil heat.
- If frying in batches, let the oil reheat between batches.
- Avoid overcrowding the pan—too much chicken at once lowers the temperature, making the coating soggy.
5. Use Cornstarch and Baking Powder for Extra Crispiness
Adding cornstarch and baking powder to your flour mixture creates a lighter, crispier texture.
Why This Works:
- Cornstarch absorbs moisture, preventing the coating from getting greasy.
- Baking powder creates tiny air pockets in the breading, making it extra crispy.
Pro Tip: Use ½ cup cornstarch per 1½ cups flour for the best results.
6. Fry in Small Batches
Frying too many pieces at once can lower the oil temperature, leading to soggy chicken.
- Fry only 3–4 pieces at a time.
- Let the oil return to 350–375°F before adding the next batch.
- Keep cooked chicken warm in an oven at 200°F (95°C) while finishing the rest.
7. Drain Fried Chicken on a Wire Rack
Many people place fried chicken on paper towels, but this can trap steam and make the crust soggy.
- Instead, place fried chicken on a wire rack over a baking sheet.
- This allows air circulation to keep the coating crisp.
8. How to Keep Fried Chicken Crispy for Longer
If you’re making fried chicken for a party or meal prep, here’s how to keep it crispy:
Oven Method:
- Keep fried chicken warm in a 200°F (95°C) oven on a wire rack.
Reheating Leftovers:
- Air Fryer: 375°F for 5–7 minutes.
- Oven: 400°F for 10 minutes.
- Avoid microwaving—it makes the chicken soggy.
Let me know if you need any further refinements.
9- How to Keep Fried Chicken Crispy for Longer
Now that you’ve mastered crispy fried chicken, pair it with a fresh and tangy side to balance the flavors. Try this easy cucumber salad recipe for a delicious contrast!
Frequently Asked Questions (FAQs)
When making fried chicken in a pressure cooker, there are often questions about the process, ingredients, and troubleshooting. Here are some common FAQs with detailed answers to help you achieve the crispiest, juiciest fried chicken every time.
1. Can You Really Fry Chicken in a Pressure Cooker?
No, a pressure cooker doesn’t fry food in the traditional sense. However, it can be used to partially cook the chicken, making it tender before finishing it in hot oil or an air fryer for a crispy crust.
Why Use a Pressure Cooker?
- Ensures the chicken is fully cooked inside.
- Reduces frying time, leading to less oil absorption.
- Produces juicy, tender meat with a crispy exterior.
2. Do I Need to Add Oil to the Pressure Cooker?
No, you don’t need to add oil to the pressure cooker. Instead, you should add water or chicken broth to create steam, which helps cook the chicken. The crispiness comes from frying or air-frying after pressure cooking.
What to Add Instead:
- 1 cup of water or broth (prevents burning and creates steam).
- Use a trivet or steamer basket to keep the chicken above the liquid.
3. How Long Should I Pressure Cook the Chicken Before Frying?
Cooking time depends on the size and type of chicken pieces.
- Bone-in chicken (drumsticks, thighs, wings): 6–8 minutes on High Pressure
- Boneless chicken (breast, tenders): 5 minutes on High Pressure
- Whole chicken: 10–12 minutes on High Pressure
Pro Tip: Always do a Natural Release for 5 minutes, then Quick Release to avoid overcooking.
4. How Do I Prevent the Coating from Falling Off?
One common issue is the coating peeling off while frying. Here’s how to prevent it:
- Let the breaded chicken rest for 10–15 minutes before frying.
- Pat the chicken dry before coating to help the flour stick better.
- Double-dip (flour → egg/buttermilk → flour) for a thicker crust.
- Do not overcrowd the fryer—this prevents steam buildup, which can loosen the coating.
5. Can I Make This Recipe in an Instant Pot?
Yes! An Instant Pot is a type of pressure cooker and works the same way.
Key Adjustments for Instant Pot:
- Use the “Pressure Cook” or “Manual” setting.
- Add 1 cup of water or broth to prevent burning.
- Use a trivet or steamer basket to keep the chicken elevated.
Remember: The Instant Pot doesn’t fry—so finish in hot oil or an air fryer for crispiness.
6. Can I Skip Frying and Use an Air Fryer Instead?
Yes! If you want a healthier version, you can use an air fryer instead of deep frying.
After pressure cooking, follow these steps:
- Preheat air fryer to 400°F (200°C).
- Lightly spray the chicken with oil.
- Air fry for 5–7 minutes until golden brown and crispy.
Pro Tip: Flip the chicken halfway through cooking for even crispiness.
7. What’s the Best Way to Reheat Fried Chicken Without Making It Soggy?
To keep leftover fried chicken crispy, avoid microwaving! Instead, try these methods:
- Oven: Bake at 400°F (200°C) for 10–15 minutes on a wire rack.
- Air Fryer: Heat at 375°F (190°C) for 5–7 minutes until crispy.
8. Can I Use Frozen Chicken for This Recipe?
Yes, but with some adjustments.
How to Pressure Cook Frozen Chicken:
- Increase the cooking time by 2–3 extra minutes.
- Skip the buttermilk marinade (as it won’t absorb well when frozen).
- Coat the chicken after pressure cooking instead of before.
Note: You must thaw the chicken before frying, or the coating won’t stick properly.
9.What’s the Best Side Dish for Fried Chicken?
Fried chicken is delicious on its own, but pairing it with the right side dish takes the meal to the next level. Classic sides like coleslaw, mashed potatoes, mac and cheese, and cornbread complement the crispy texture and savory flavor of the chicken.
If you’re looking for more ideas, check out this list of delicious side dishes for fried chicken from Taste of Home for the perfect meal pairing!


